Connecting boneIO Black
How to connect Home Assistant to a boneIO Black controller over MQTT, with the broker on the controller or in Home Assistant.
A boneIO Black controller talks to Home Assistant over MQTT. In Home Assistant you add one integration, MQTT, and the controller announces all its outputs, covers, inputs, sensors and templates by itself. There is no YAML to write.
The MQTT broker, the program through which the two exchange messages, can run in one of two places:
| Broker on the controller (recommended) | Mosquitto in Home Assistant | |
|---|---|---|
| Where it runs | on the boneIO Black, from the start | in Home Assistant, as the Mosquitto app |
| What you install in Home Assistant | only the MQTT integration | the Mosquitto app and the MQTT integration |
| When to choose it | almost always | when Home Assistant already runs Mosquitto, for example for a large Zigbee2MQTT network, and you want one broker for everything |
Broker on the controller (recommended)
1. Set the MQTT password on the controller
The broker on the controller has a homeassistant account with a random password, different on every device. Set one you know: in the boneIO Black panel go to Settings → Services on this controller → MQTT broker (local), enter the new password twice on the homeassistant card and click Change password. The details are on Connecting to Home Assistant.
2. Add the MQTT integration in Home Assistant
-
Go to Settings → Devices & services and click Add integration in the bottom right corner.
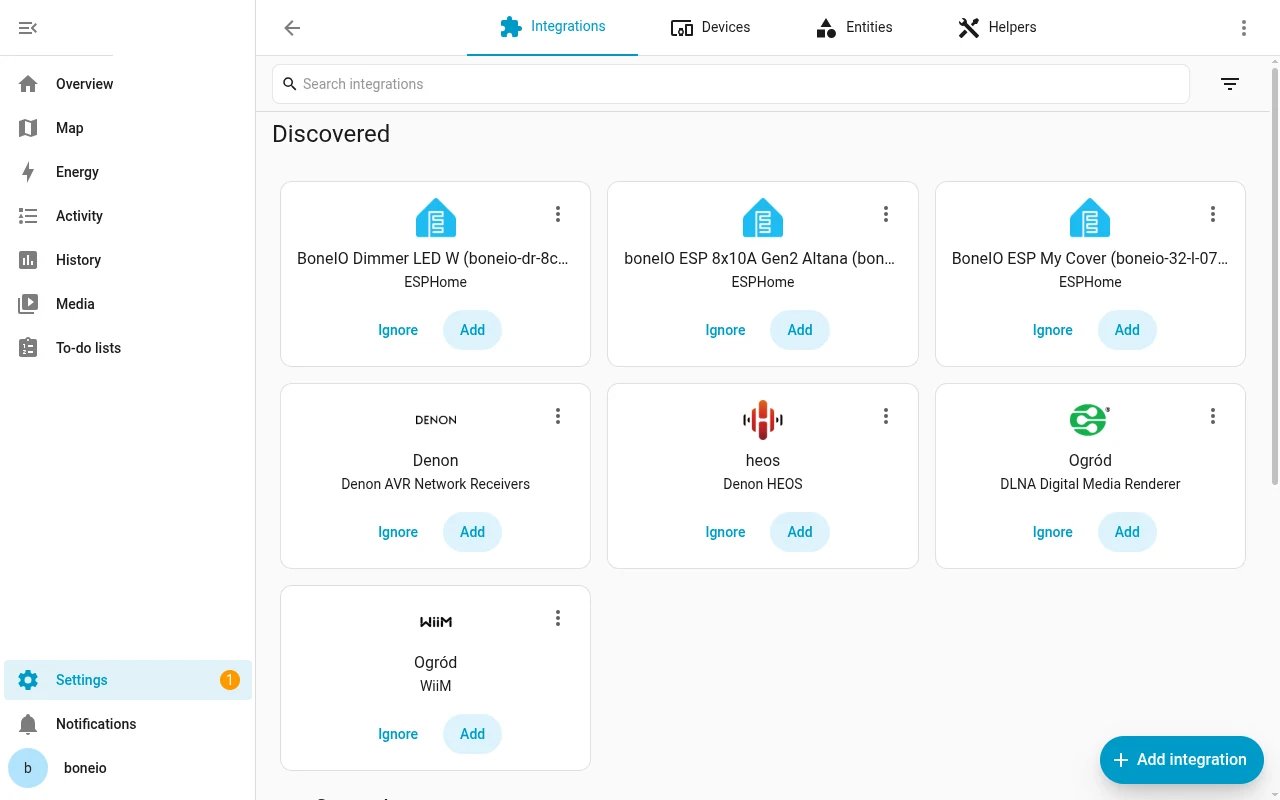
-
Type
MQTTand choose MQTT from the list.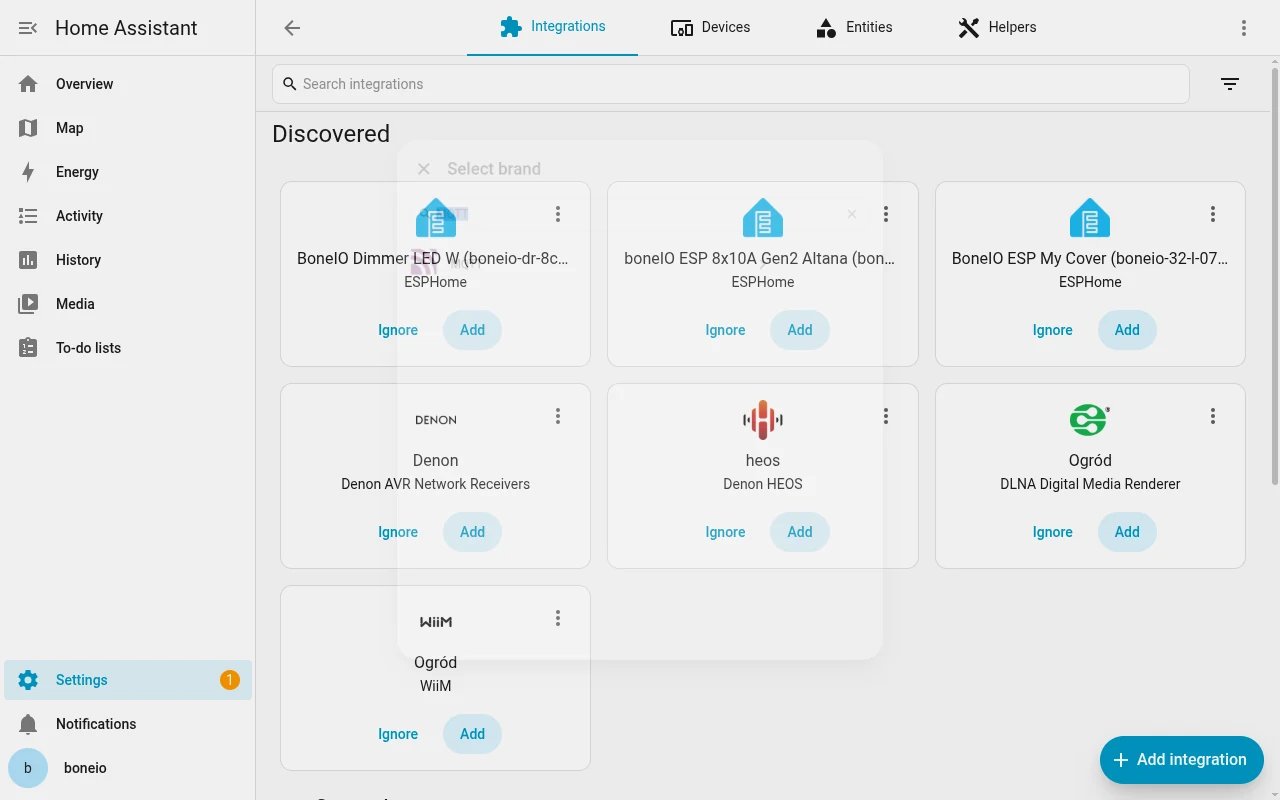
-
Home Assistant lists several integrations with MQTT in their name. Choose the first one, plain MQTT.
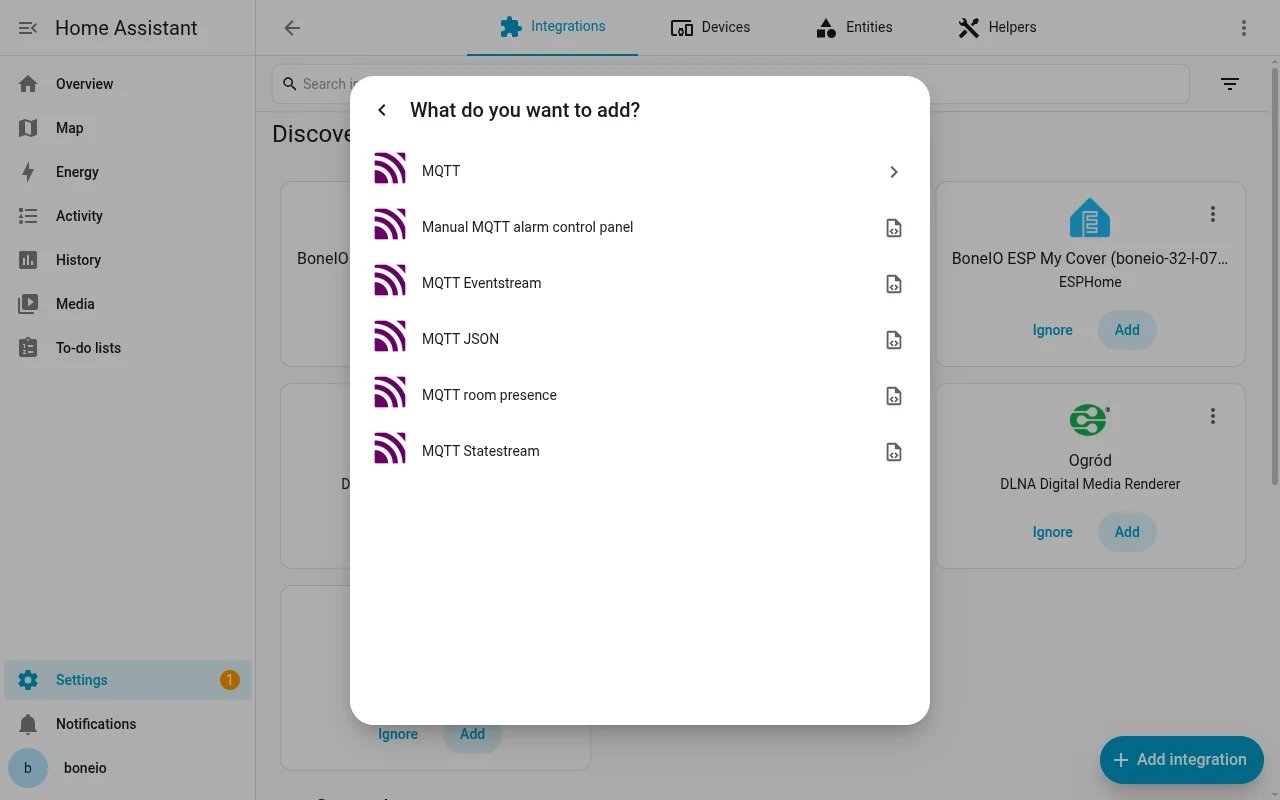
-
Choose Manually enter the MQTT broker connection details.
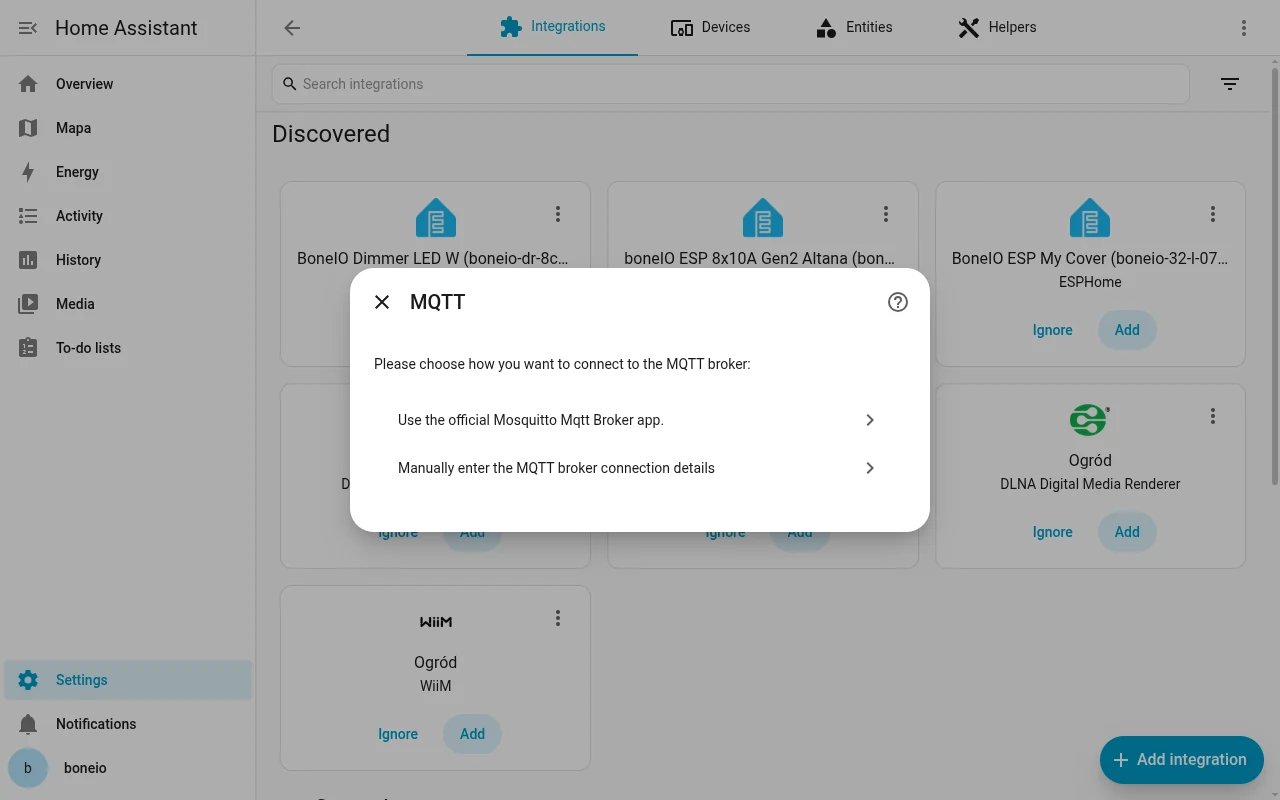
-
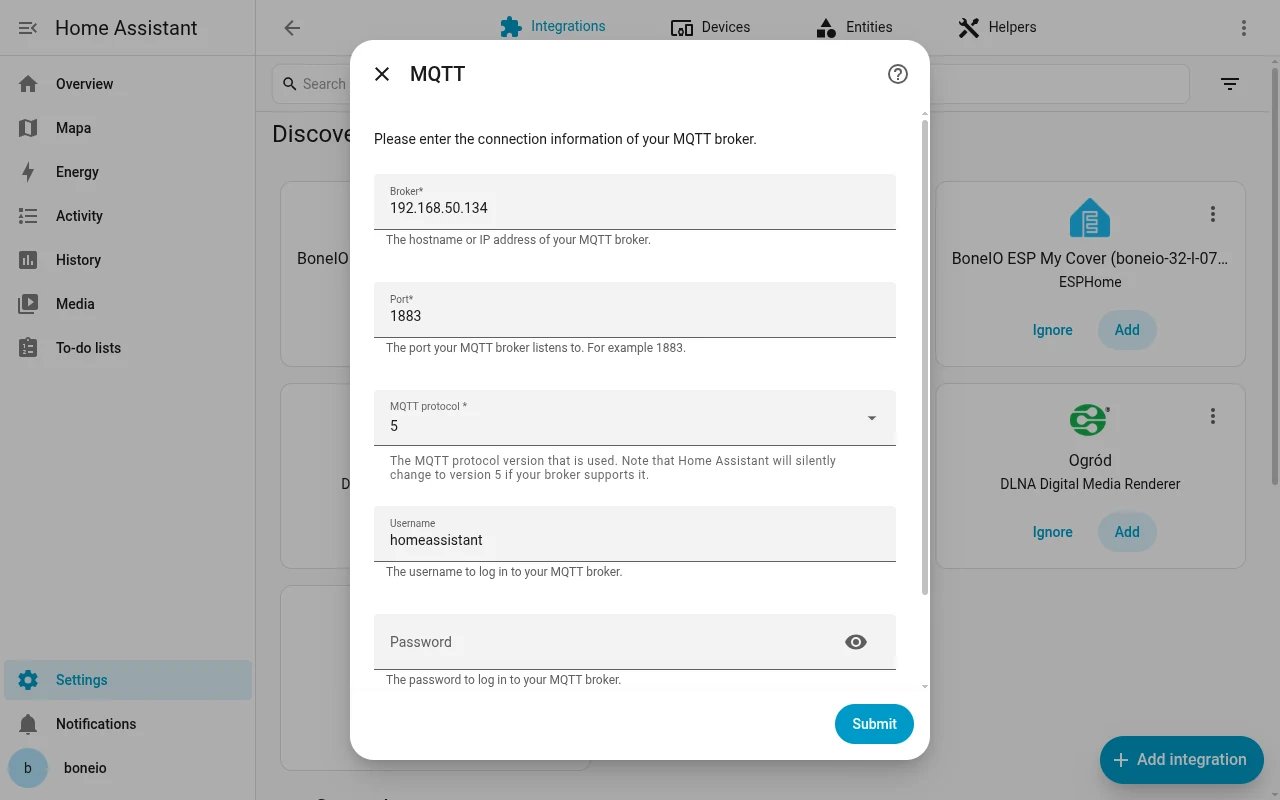
Fill in the form:
- Broker: the IP address of the boneIO Black controller, e.g.
192.168.1.100(the controller's OLED screen shows it), - Port:
1883, - Username:
homeassistant, - Password: the password set in step 1.
Click Submit.
- Broker: the IP address of the boneIO Black controller, e.g.
-
Home Assistant finds the controller straight away and opens a window to name and assign its devices. Every room set up in boneIO is a device of its own, already assigned to the area of the same name. Click Finish.
The connection can be encrypted (TLS, port 8883), which makes sense on a shared network or over a VPN. See Connecting to Home Assistant.
Mosquitto in Home Assistant
Here the broker runs in Home Assistant and the boneIO Black controller connects to it.
-
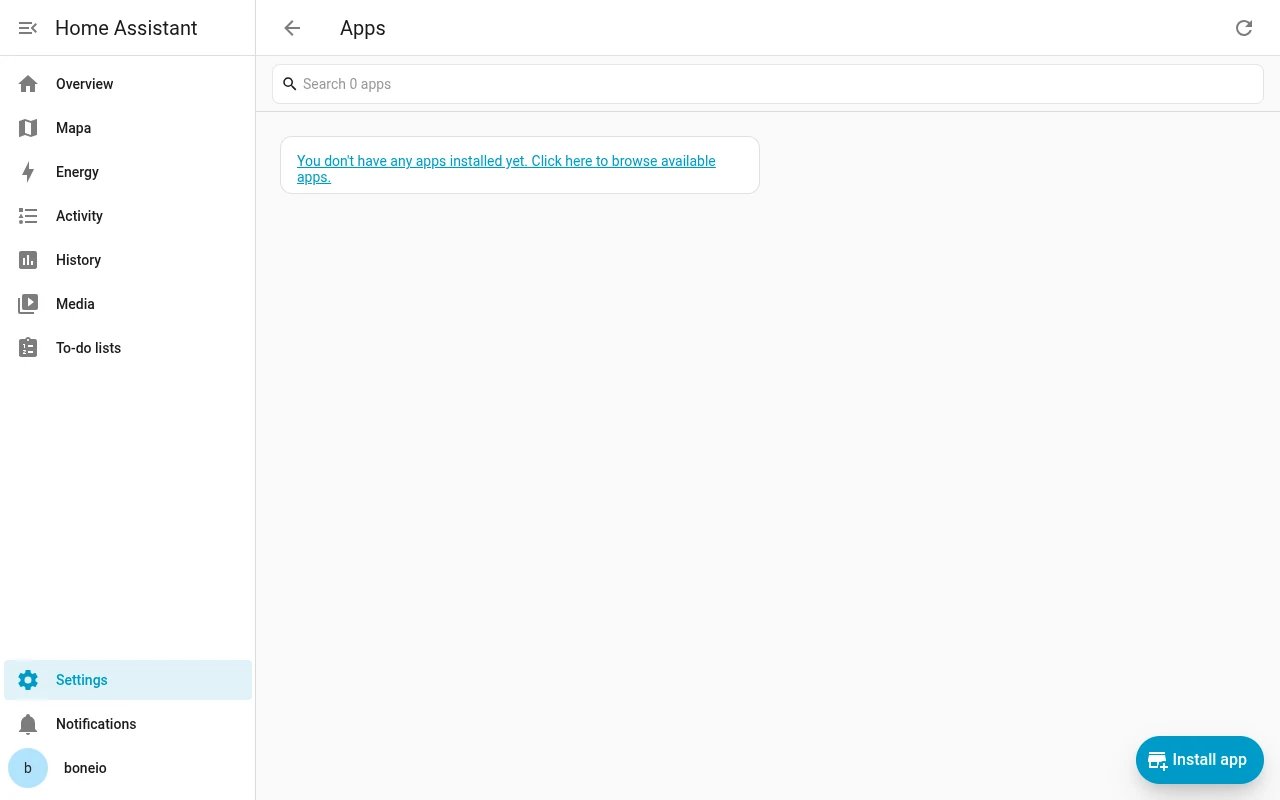
Go to Settings → Apps and click Install app.
-
In the App store, type
Mosquittoand open Mosquitto broker.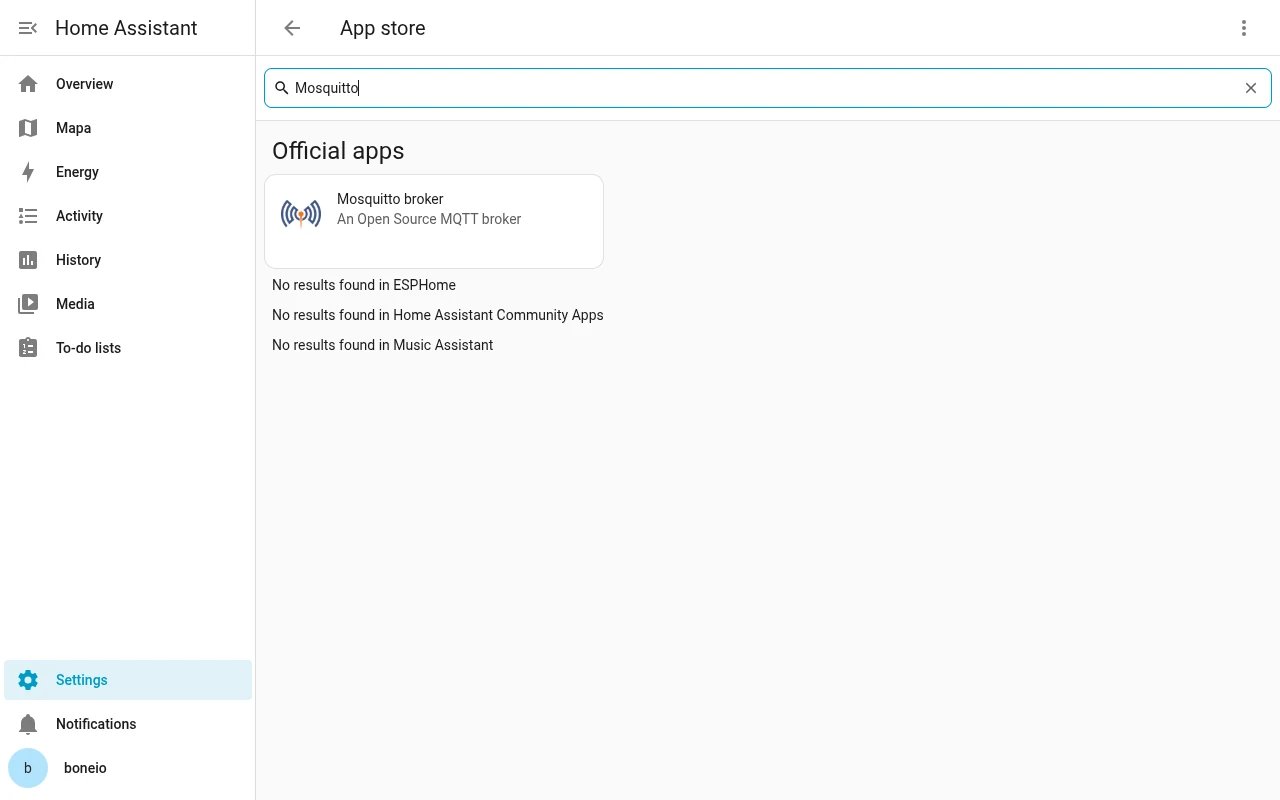
-
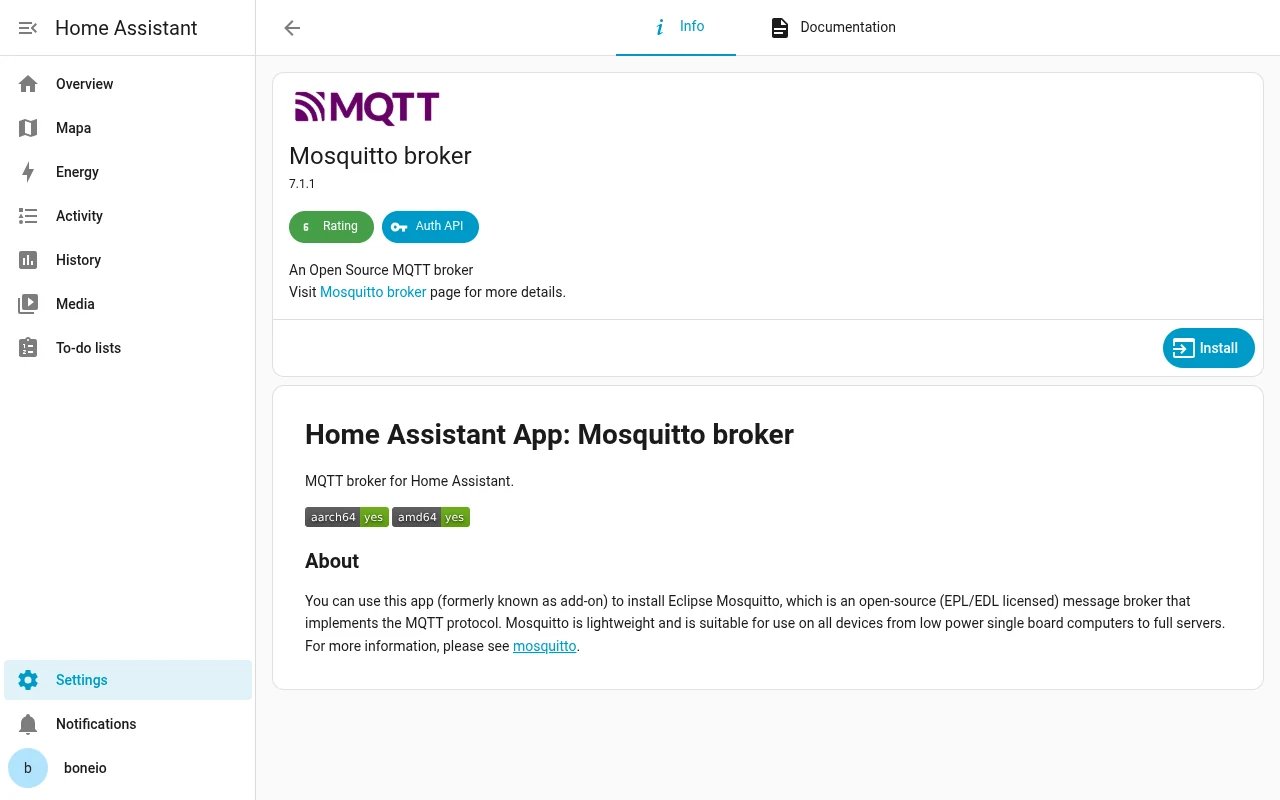
Click Install.
-
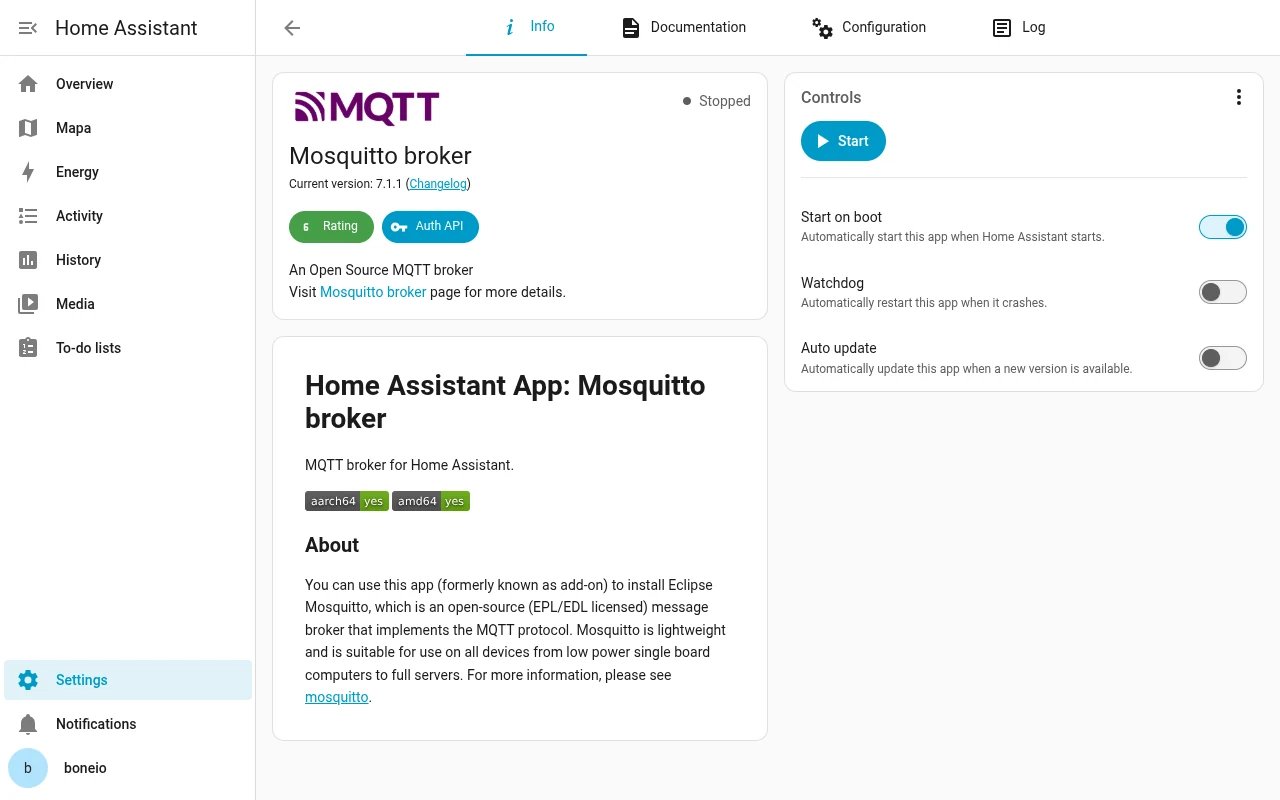
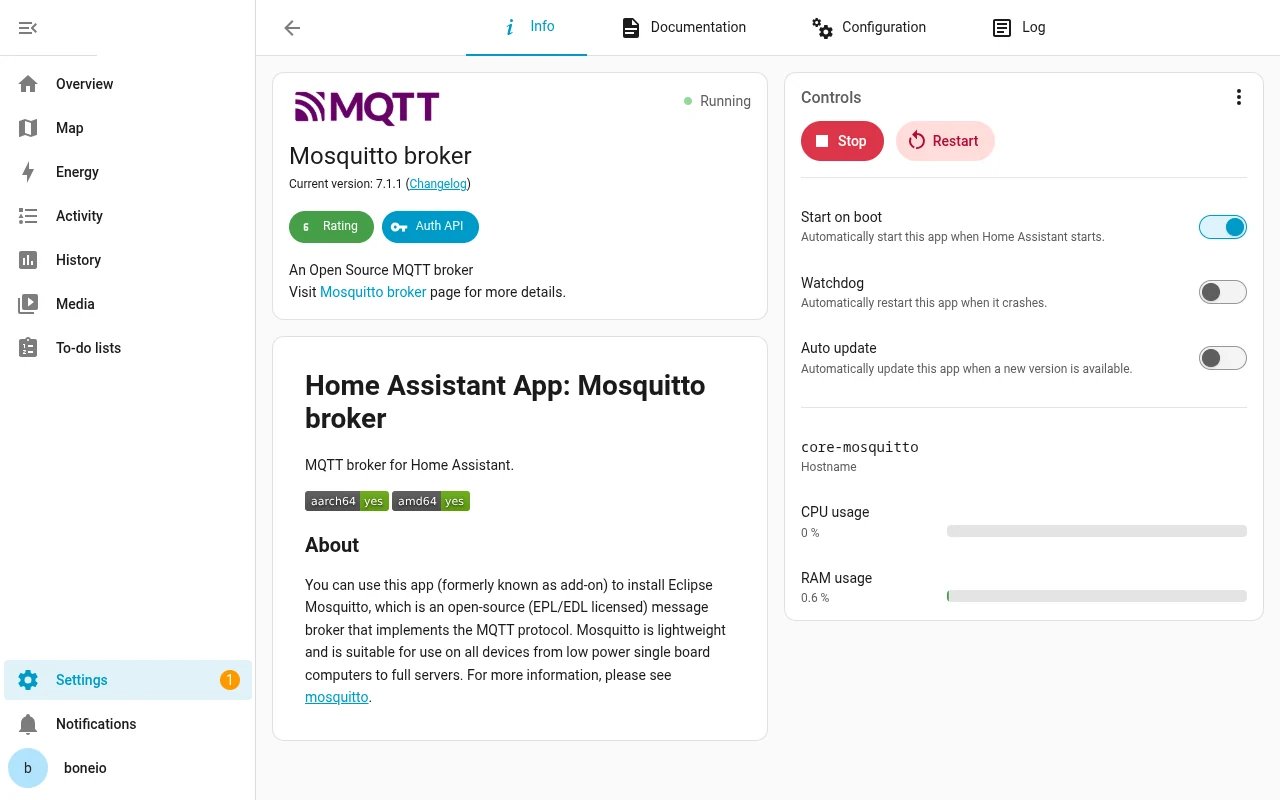
Once installed, click Start. Start on boot is on, so the broker comes back by itself after Home Assistant restarts.
-
Create the account the controller signs in to the broker with: Settings → People → Users → Add user, for example with the username
boneioand a password of your own. -
Home Assistant usually offers the MQTT integration for the new broker by itself, under Settings → Devices & services, in the Discovered part. Click Add next to it and confirm.
-
In the boneIO Black panel go to Settings → Connections → MQTT and enter the Home Assistant IP address, port
1883and the account from step 5; see Connecting to Home Assistant. Once saved, the controller connects to the broker in Home Assistant and announces its devices as with the broker on the controller.
In this setup the boneIO Black depends on Home Assistant: while Home Assistant restarts or is off, the controller has no broker and reports no states. Actions set up in boneIO (button → light) keep working, because they need no MQTT.
What you see in Home Assistant
The MQTT integration shows the controller and its devices.
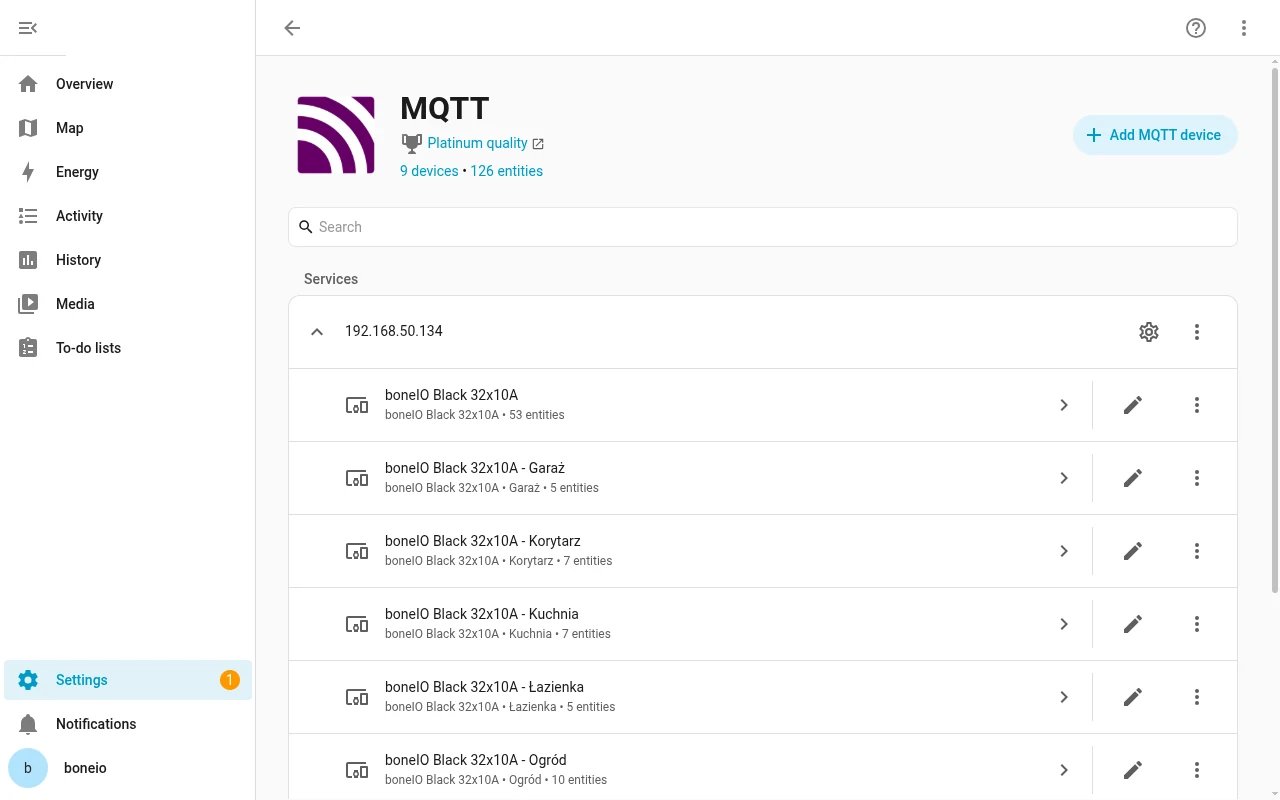
Settings → Devices & services → Devices lists:
- boneIO Black 32x10A: the controller itself, with its own sensors and everything that has no room,
- boneIO Black 32x10A - Salon, - Kuchnia and so on: one device for every room set up in boneIO, in the area of the same name. Rooms are set up in the boneIO panel, on Areas,
- boneIO templates (thermostat, alarm panel, gate, irrigation) as devices of their own, under their own names.
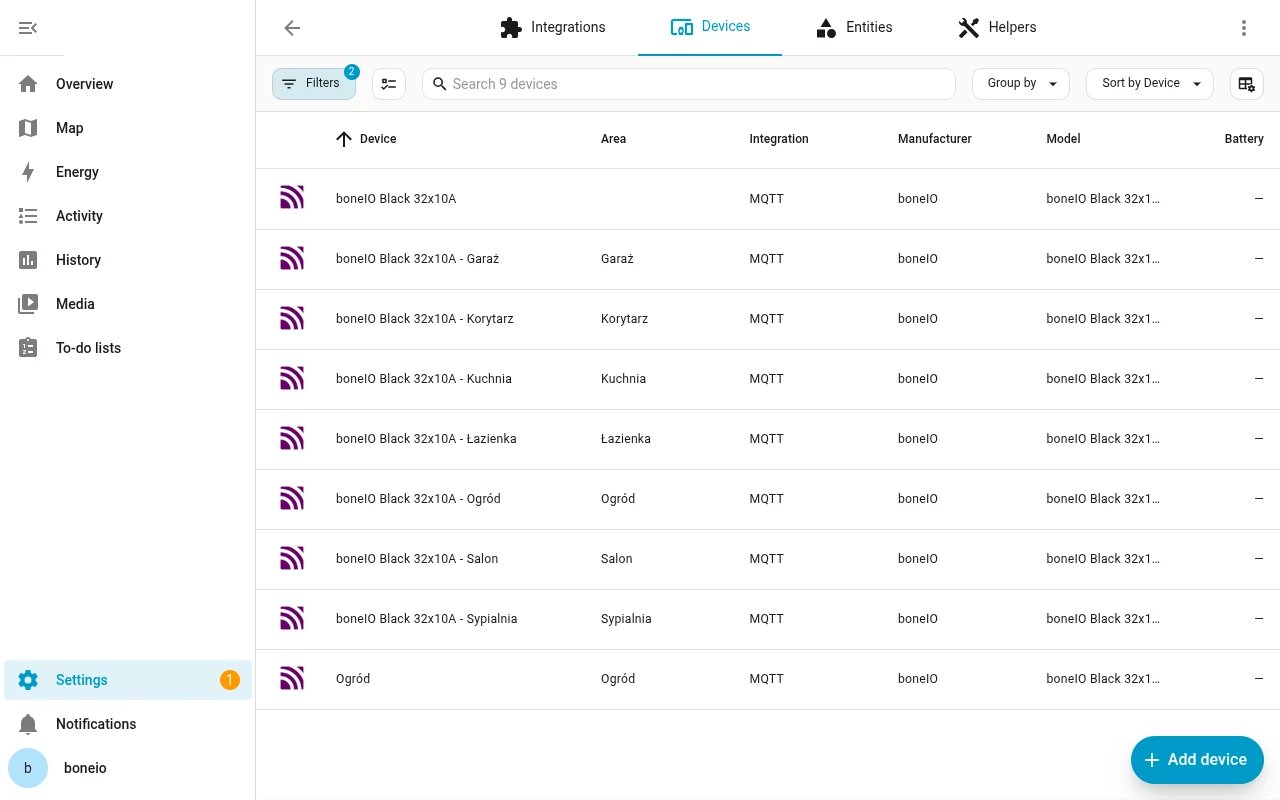
The page of one room gathers everything connected in it: lights, covers and the thermostat under Controls, reed switches and motion sensors under Sensors, buttons under Events.
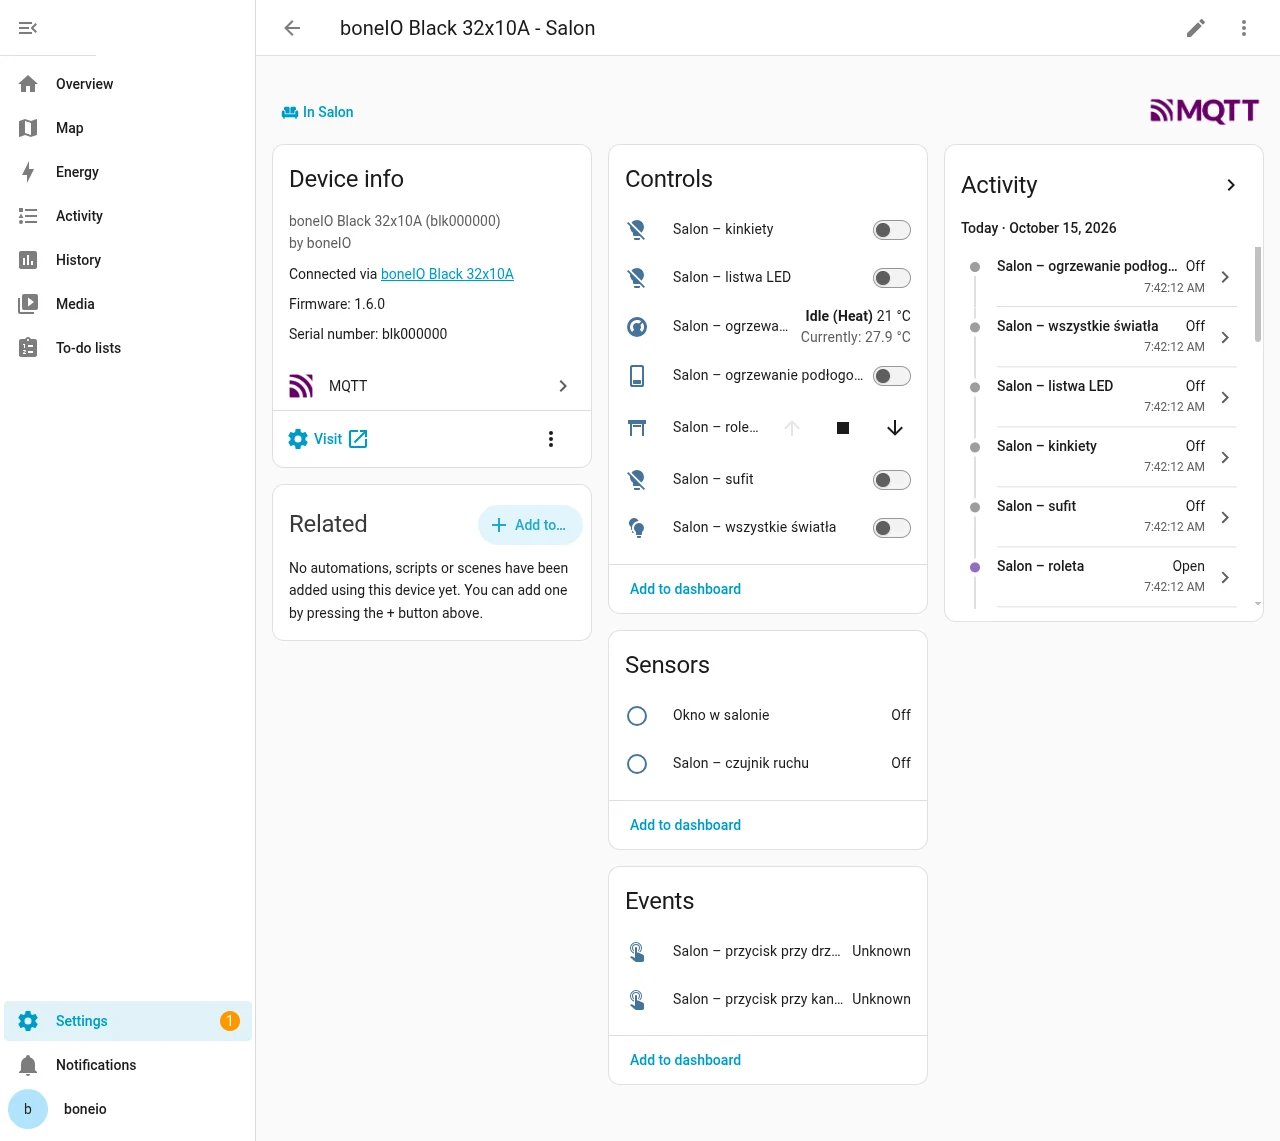
The names in Home Assistant are the ones in the boneIO panel. (The pictures come from a Polish installation, so the rooms are Salon, Kuchnia and so on.)
boneIO updates in Home Assistant
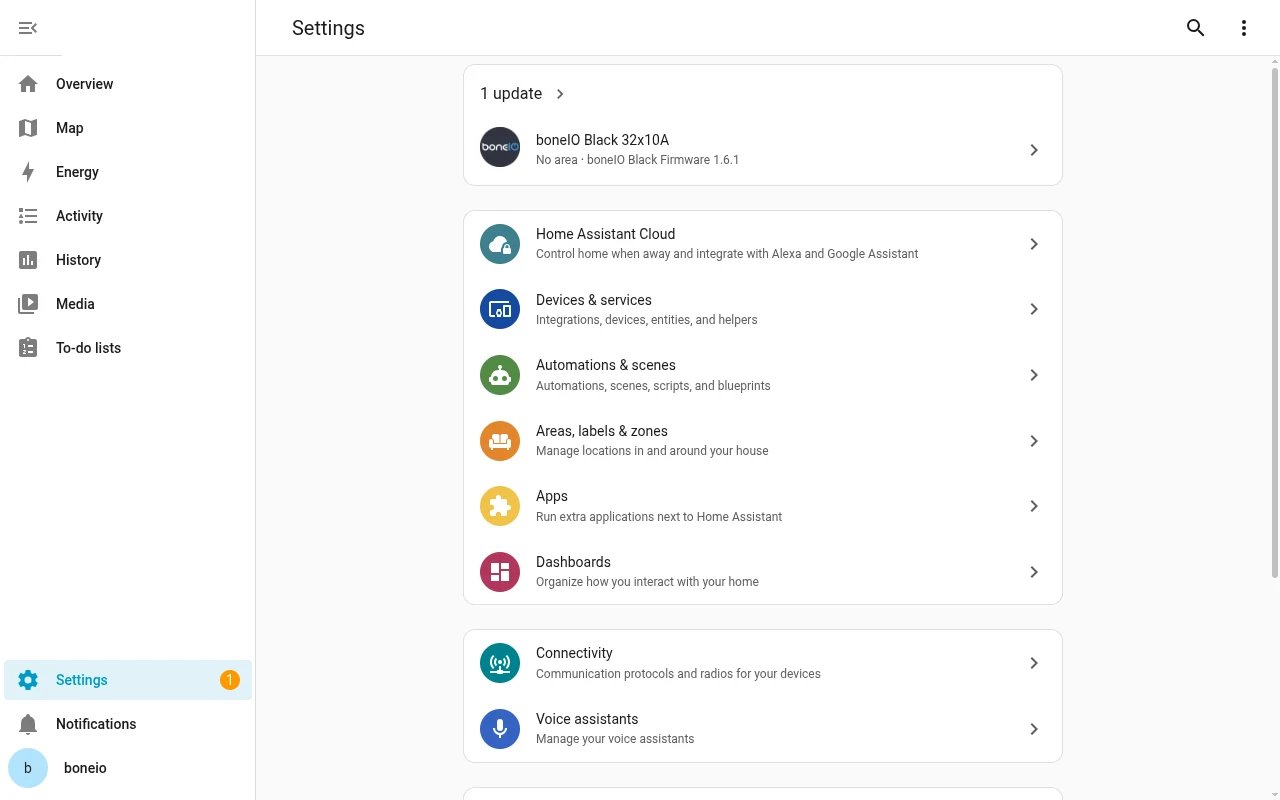
When a new version of the boneIO Black application is out, Home Assistant shows it at the top of Settings, as boneIO Black Firmware with the version number. Do the update itself in the boneIO panel: How to update.
The boneIO panel in Home Assistant
The boneIO app for Home Assistant opens the controller's panel in the Home Assistant menu, without a separate browser tab. It comes from the repository https://github.com/boneio-eu/home-assistant-addons: in Settings → Apps → Install app, click the three dots in the top right corner, choose Repositories, add the address and install the boneIO app. See Connecting to Home Assistant.