Areas
Ensure that order prevails in your system!
Areas – The Foundation of Order in a Smart Home
When starting your adventure with Home Assistant, it is worth taking care of system "hygiene" from day one. In an extensive home, the number of sensors, switches, and lights (entities) quickly reaches the hundreds. Areas are a tool that allows you to control this chaos by grouping devices according to their physical location.
Why is it worth using Areas?
Areas allow you to divide the house into specific rooms or zones. Thanks to this, you assign every input, sensor, or energy meter to a specific place (e.g., "Living Room", "Garage").
1. Clarity of dashboards and automations
Instead of searching through a list of 200 lighting entities, you can filter the view only to the "Kitchen". This significantly speeds up the process of creating dashboards and writing automations.
2. Consistent naming (No more long names)
Without areas, users often create names like light.main_light_above_the_island_in_the_kitchen or sensor.thermometer_childrens_room. By having a division into areas, Home Assistant intelligently distinguishes entities with the same name in different zones.
Real-life example: Imagine that in every room you have a "Main Light". Thanks to areas, you can name the entities simply light.main. HA will know that one belongs to the Living Room area and the other to the Bedroom. This also facilitates voice control – by saying "Turn off the light in the Living Room," the system knows exactly which one is meant.
How to create Areas?
We recommend creating a separate area for each room in the house and external zones (e.g., Garden, Driveway).
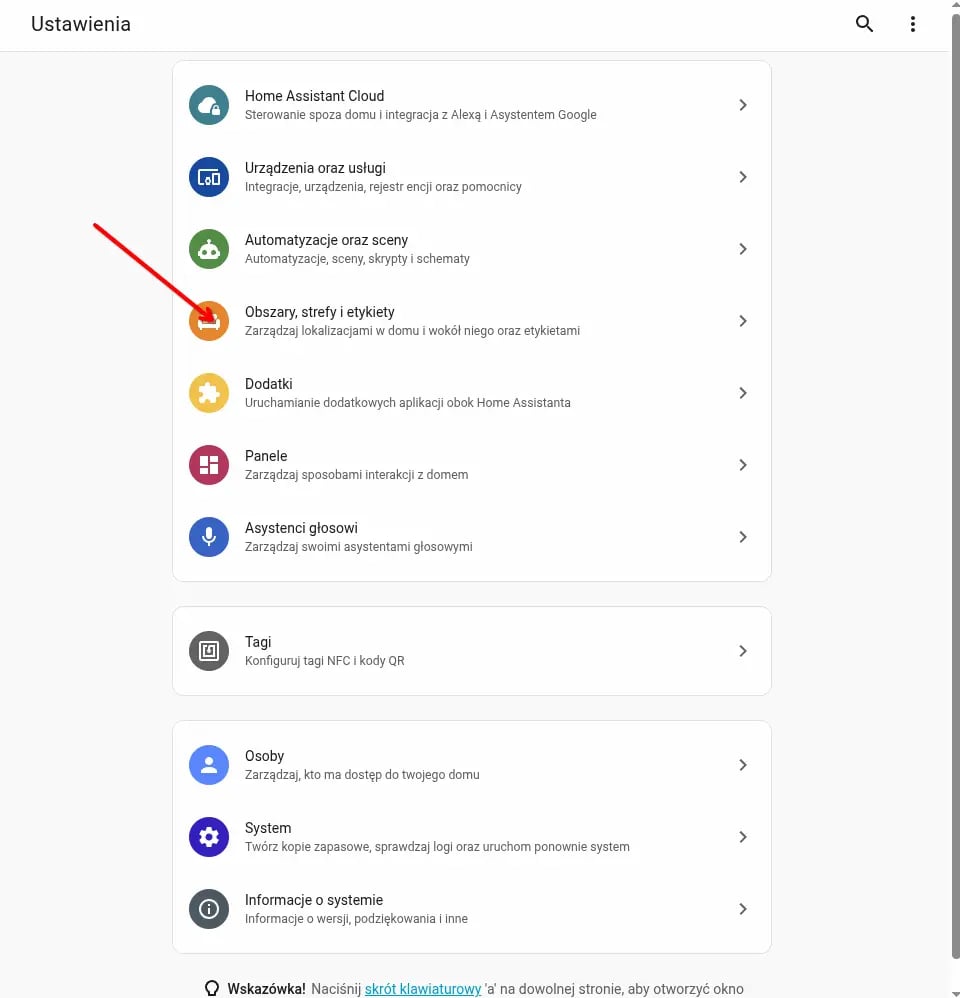
- Go to Settings -> Select the Areas, zones & labels tab.
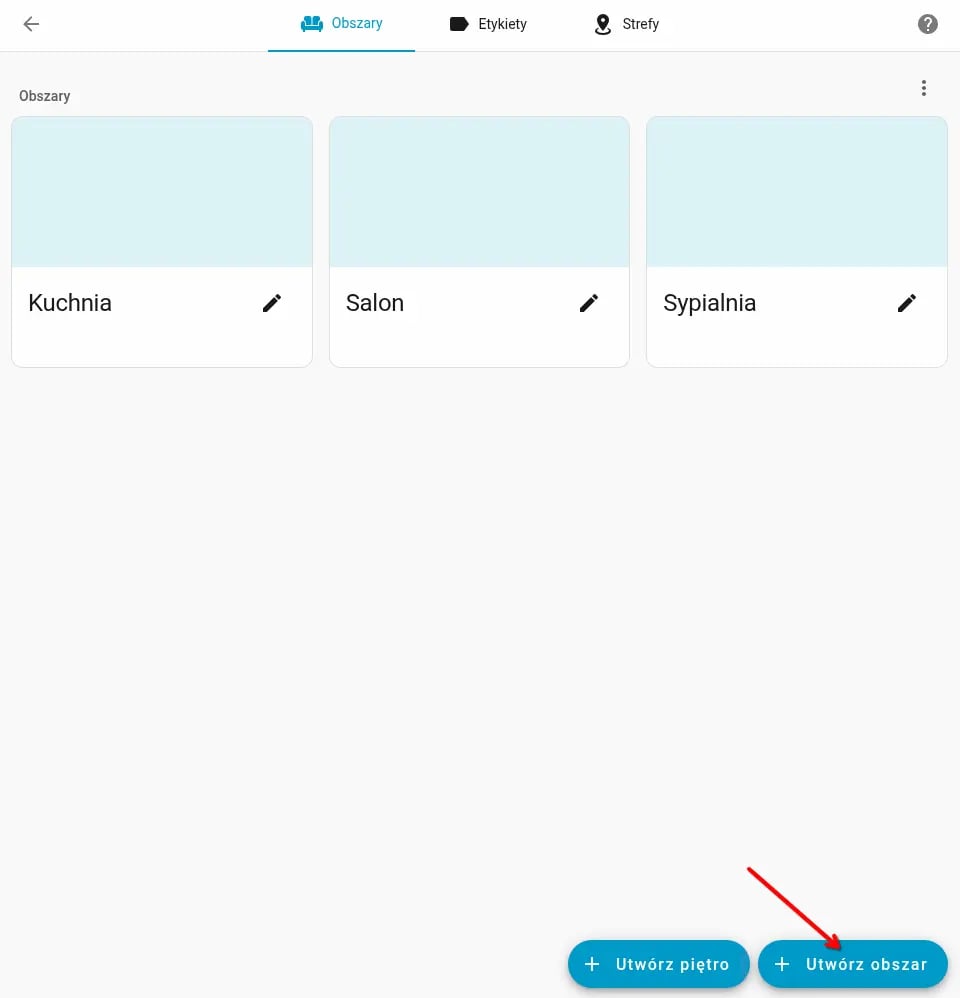
- Click the + Create area button.
- Fill in the auxiliary data:
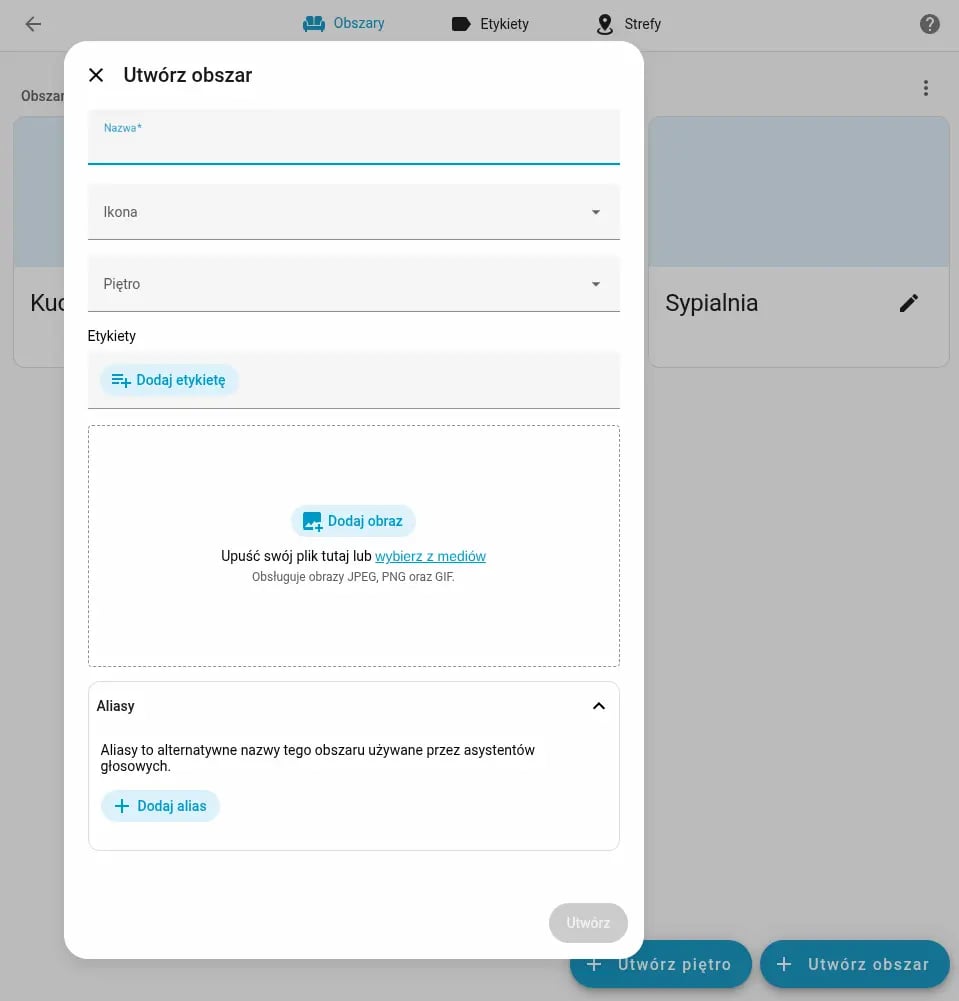
- Name: e.g., Bathroom Ground Floor.
- Icon: choose an appropriate graphic (e.g., mdi:shower).
- Floor: assign the room to a floor (e.g., Ground Floor, Floor 1).
- Image: you can add a photo of the room, which HA will use on dashboard cards.
- Aliases: define alternative names for a given area that will be used by voice assistants.
Assigning devices to Areas
There are two ways to assign hardware to a specific location.
A. boneIO Method (Recommended - right now only for Black series)
boneIO controllers were designed to make your life easier right at the configuration stage.
-
When adding inputs or outputs in the controller configuration, you can immediately assign them to a specific area.
-
Effect: The controller automatically "splits" entities into smaller, logical devices assigned to the correct rooms. Thanks to this, in the "Devices" tab, you don't see one huge controller with 32 outputs, but a clear list of devices in each room.
Read more about this in the technical documentation: Black Series
B. Manual moving of entities
If a device (e.g., integrated via Wi-Fi) did not assign itself automatically or you want to change the location of a single entity:
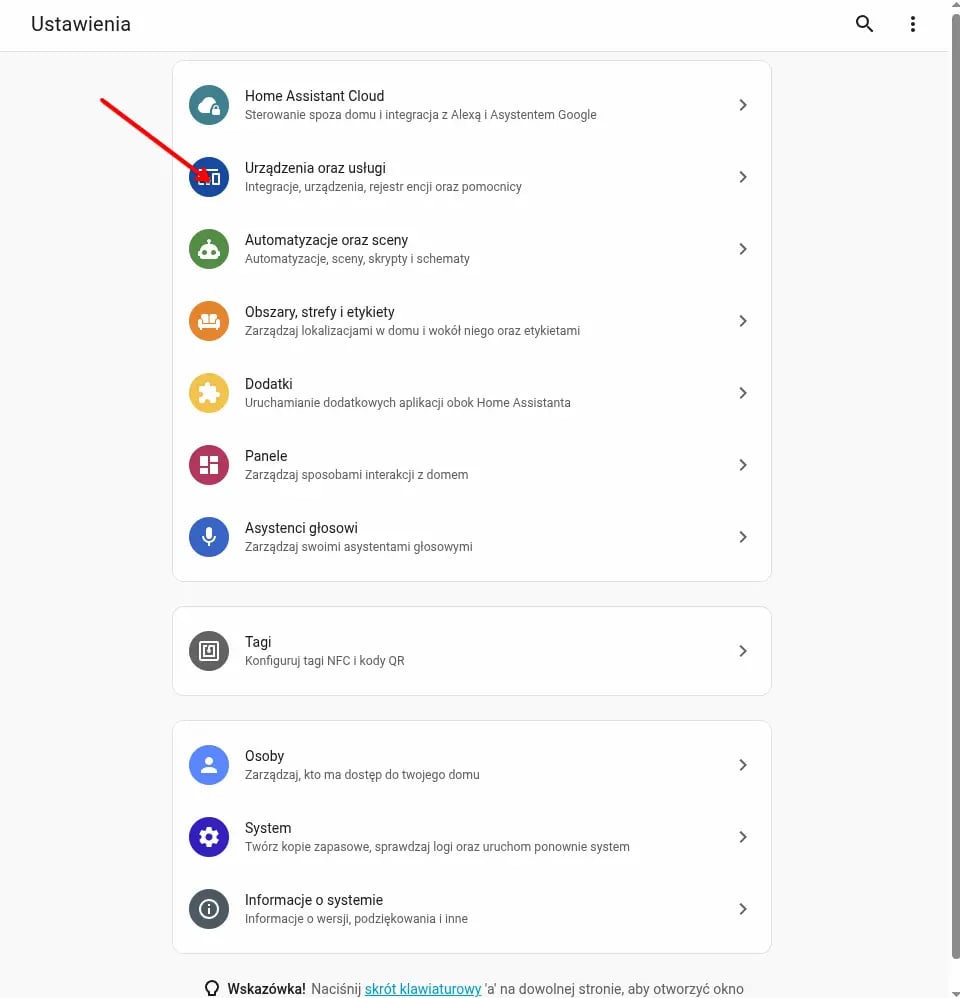
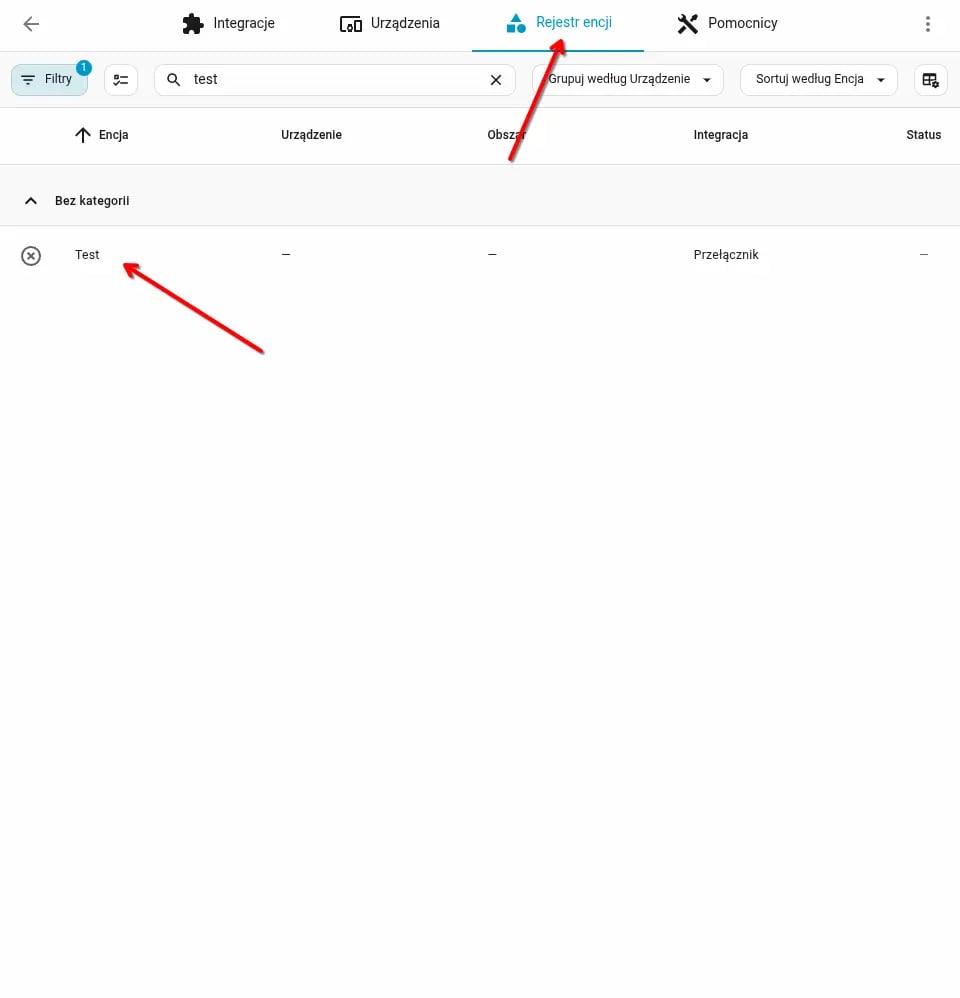
- Select Settings -> Devices & services -> Entities.
- Search for the entity you are interested in and click on it.
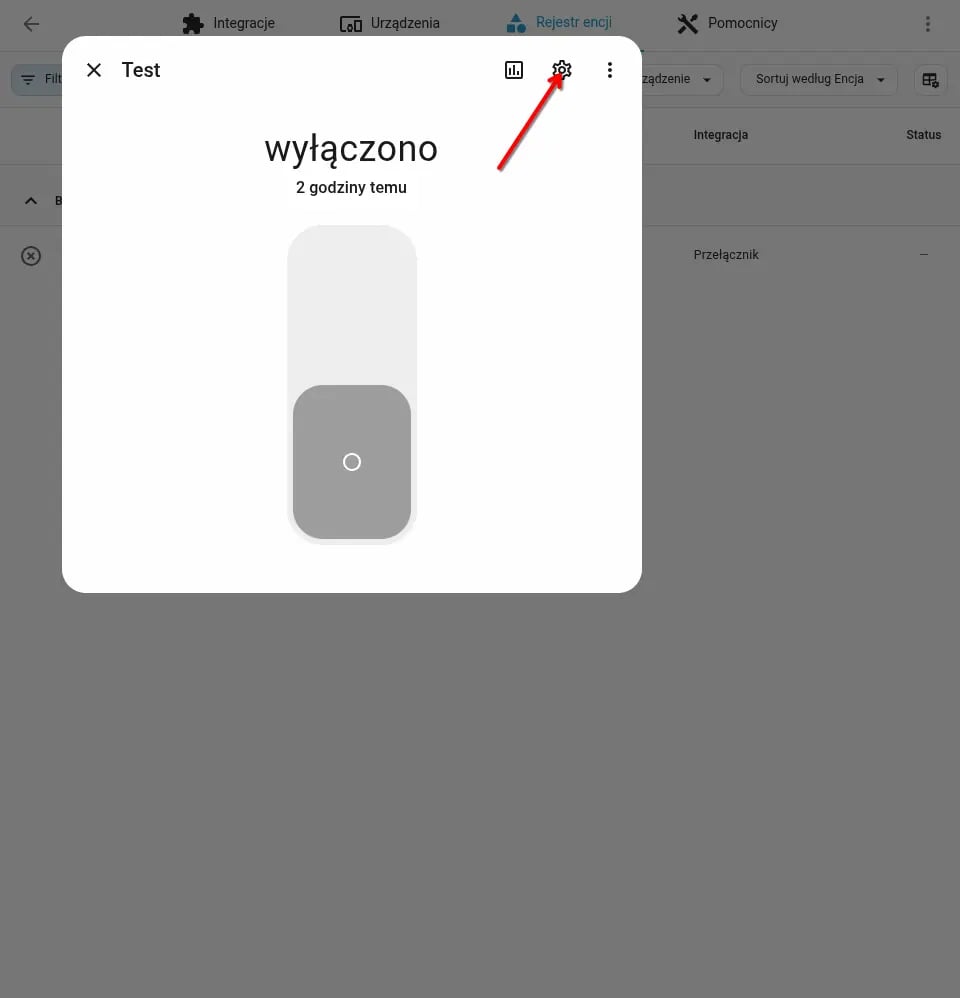
- Click the settings icon (gear).
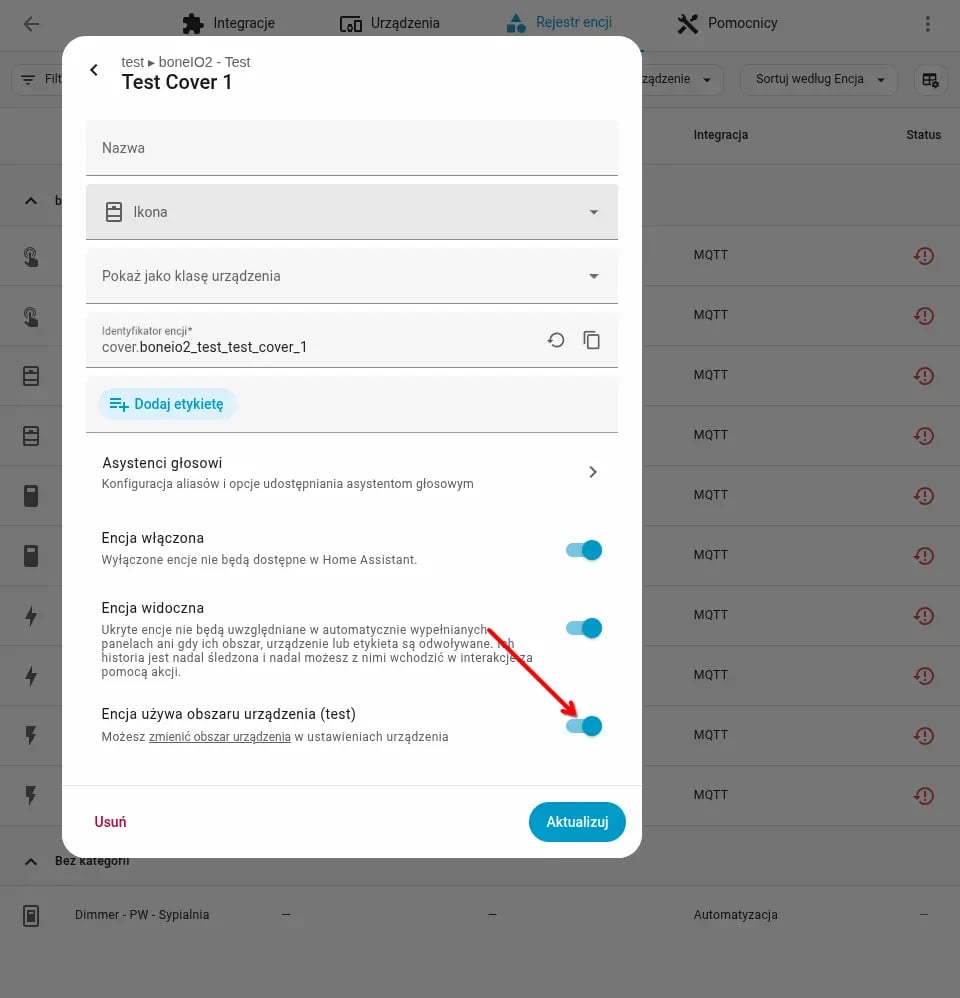
- Deselect the option "Entity follows device area".
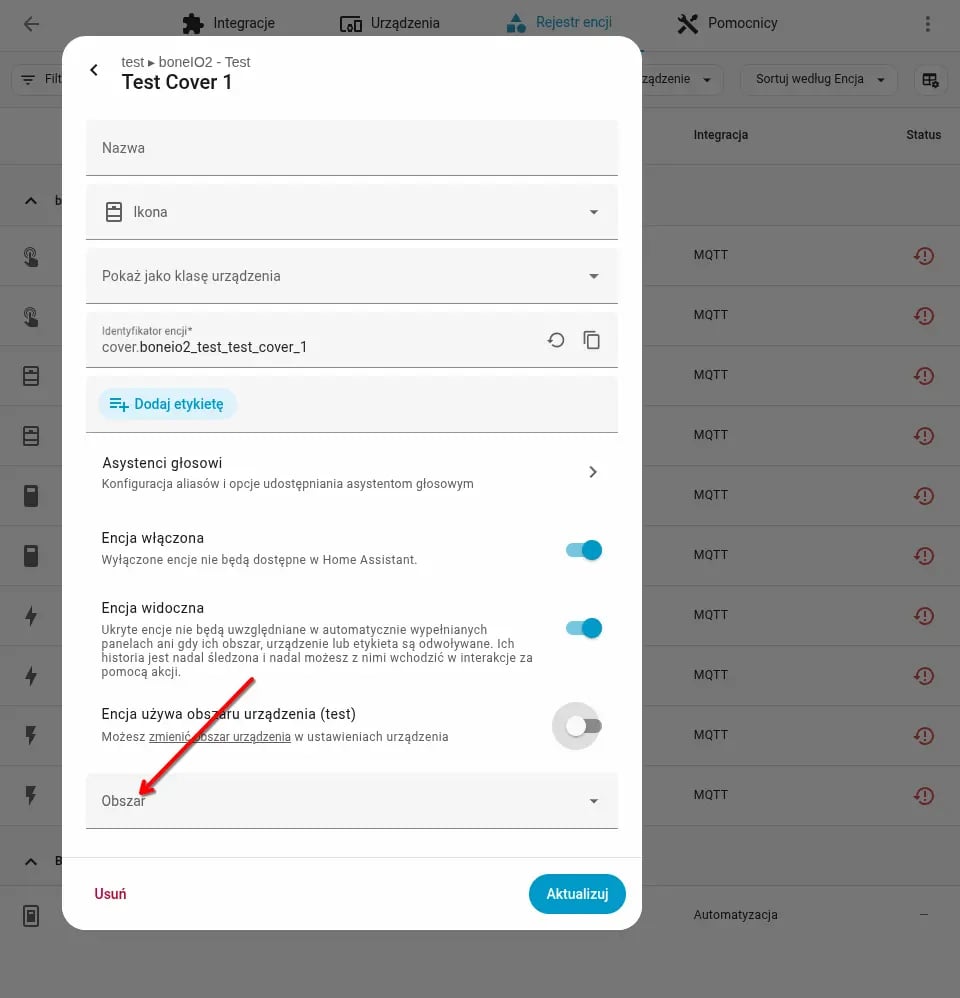
- An Area dropdown menu will appear, from which you can select the new location.
Good practices
- Group floors: Use the "Floors" feature. This allows for quick actions like "Turn off everything on the first floor."
- Aliases: Add aliases (synonyms) for voice assistants. If an area is named "Living Room", add appropriate aliases so the assistant understands you better.
- Technical zones: Create areas such as "Distribution Board" or "Server Room" for system sensors and boneIO statuses.