First run
The Home Assistant setup wizard step by step, from creating the account to the first dashboard.
After the installation, open http://homeassistant.local:8123 in a browser. Home Assistant takes you through a short wizard: the account, your home's location, analytics and the devices it found. It takes a few minutes.
Start
Click Create my smart home. If you have a backup of an earlier Home Assistant, choose Upload backup or Home Assistant Cloud instead. The wizard restores your configuration from it instead of starting a new one.
The language is chosen at the bottom of the page. The wizard remembers it for this browser.
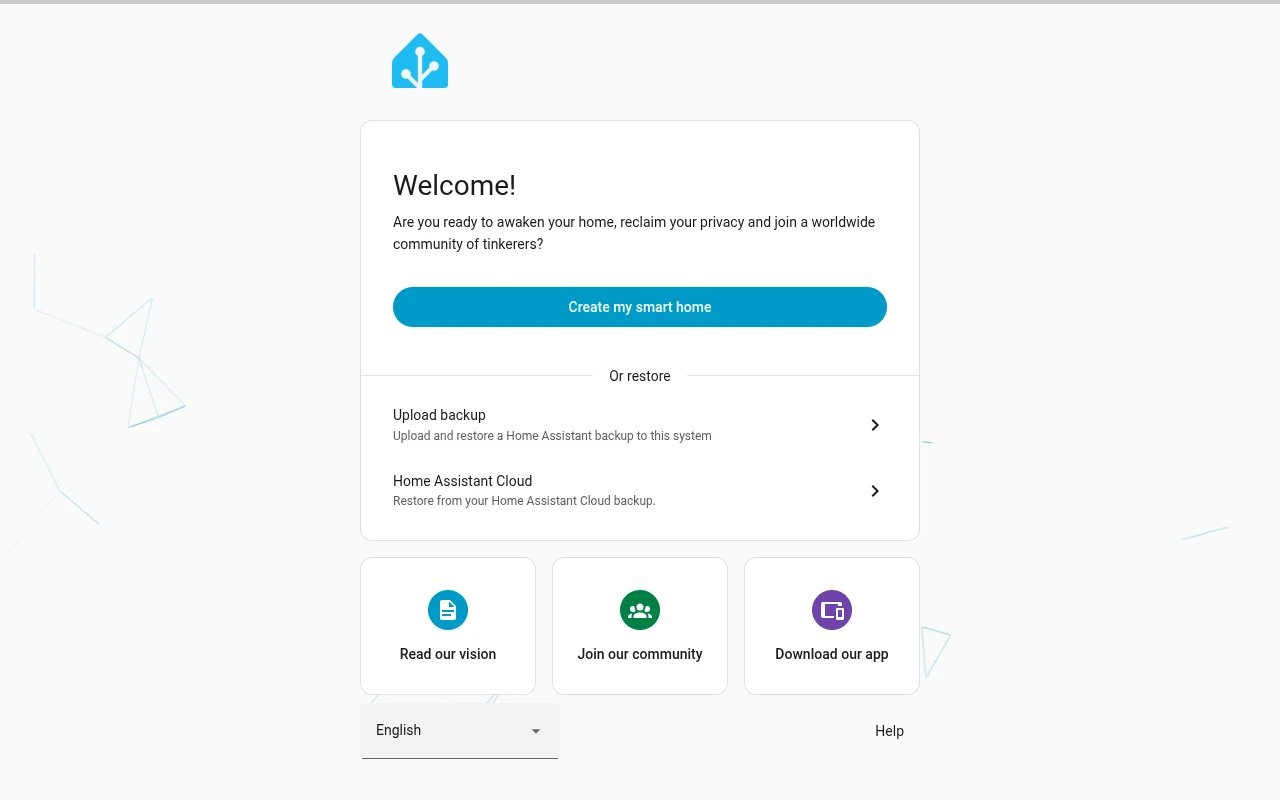
Account
Enter a Name, a Username and the Password twice. This is the owner's account, with full rights in Home Assistant. Keep the password somewhere safe.
Click Create account.
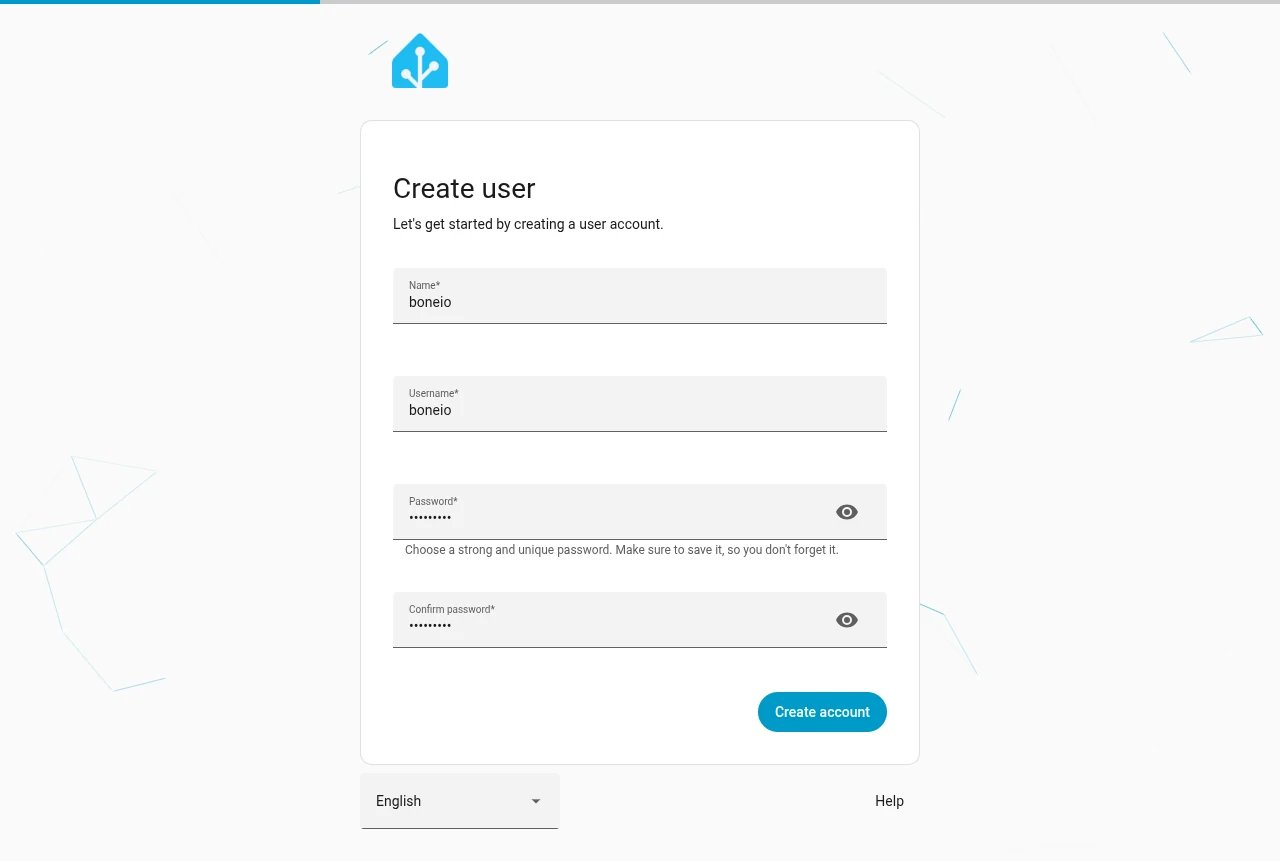
Home location
Type an address or town into Search address and pick it from the list, or move the pin on the map. Home Assistant uses the location for sunrise and sunset, the weather and "when I leave home" automations. The town is precise enough.
Click Next.
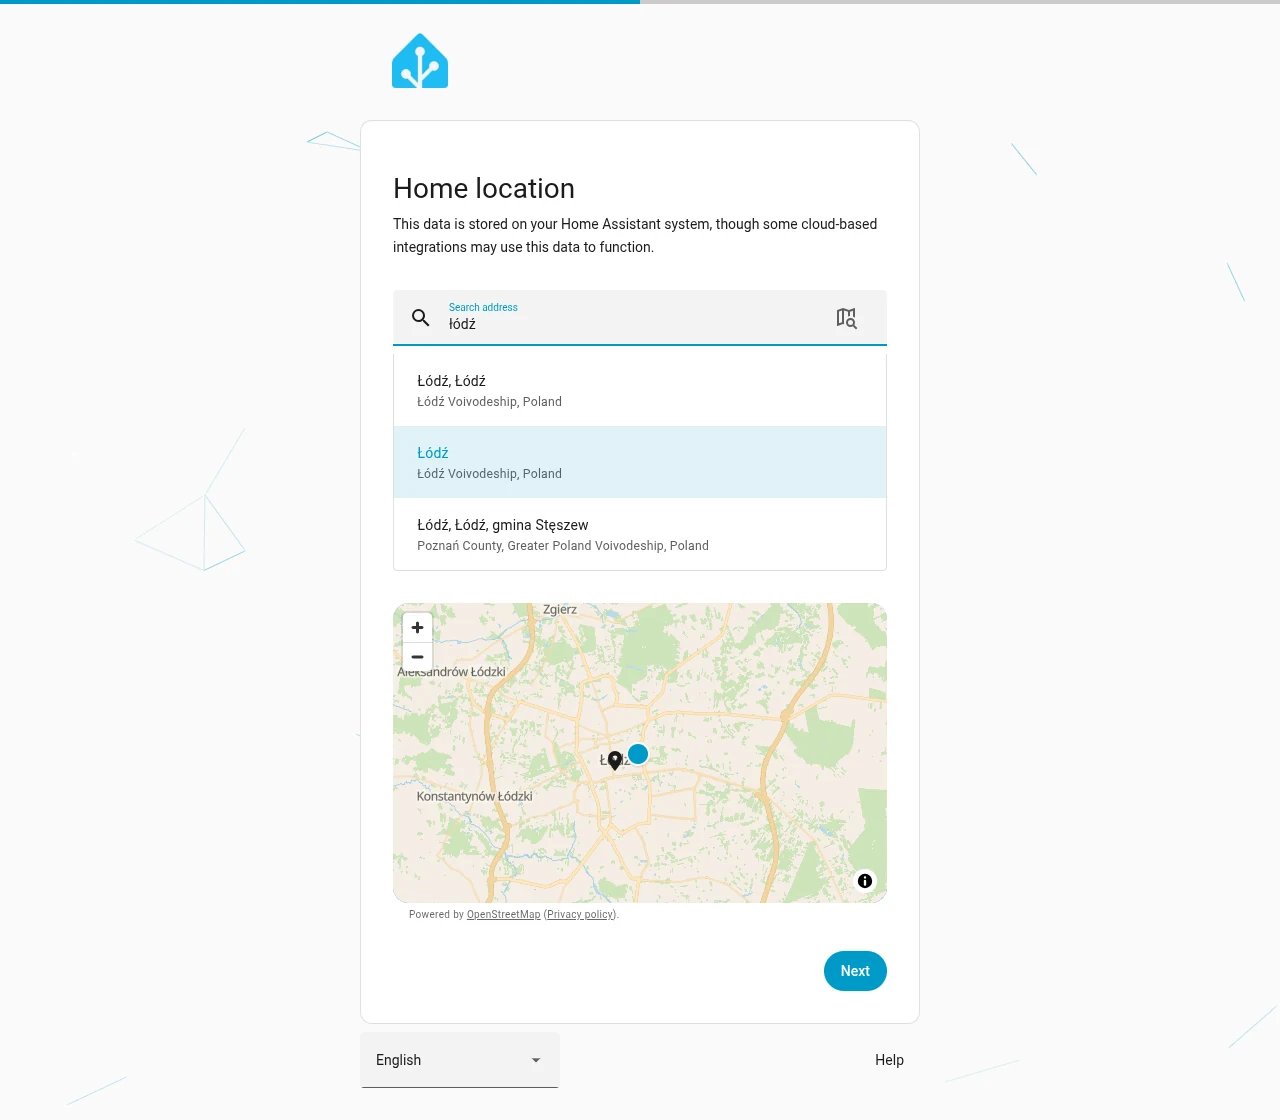
Analytics
Here you decide whether Home Assistant sends its makers anonymous information about the installation. All switches are off by default and can stay off. Nothing in your home depends on them.
Click Next.
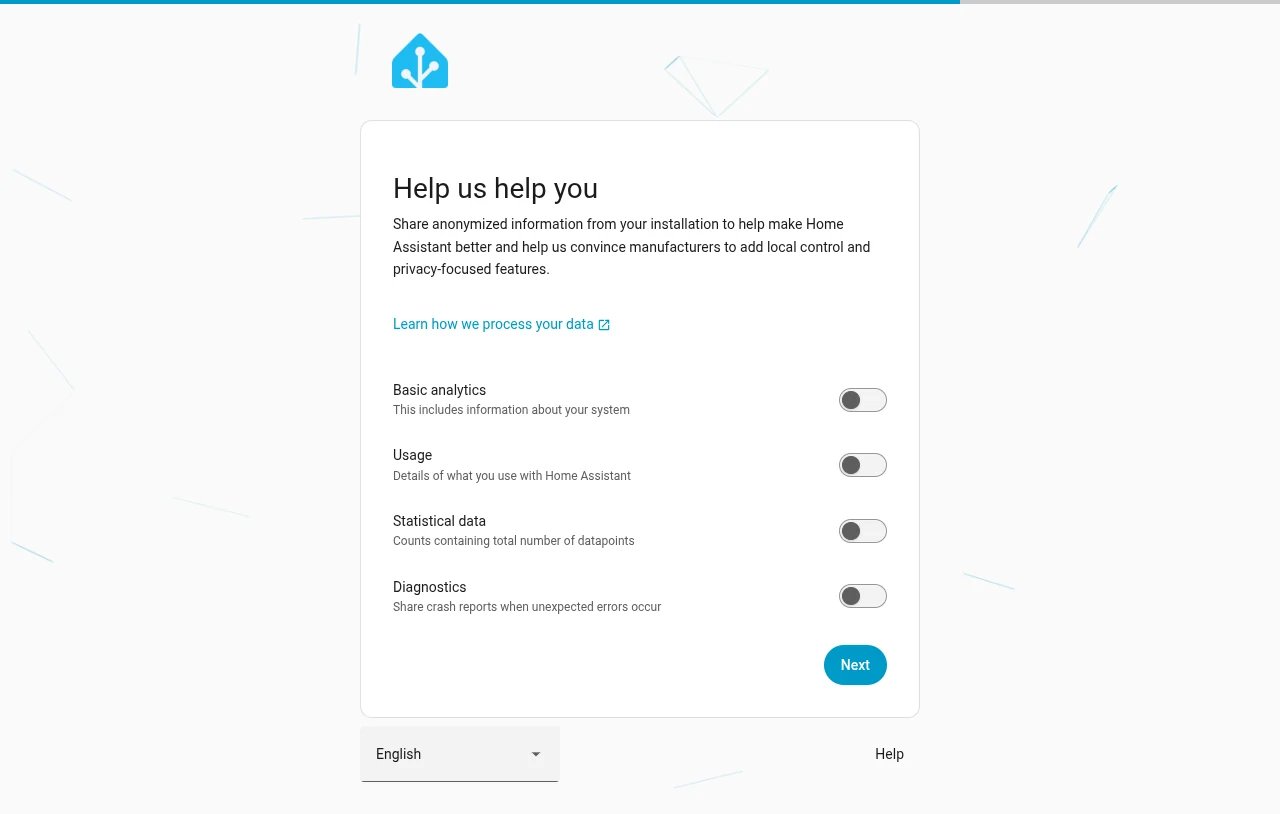
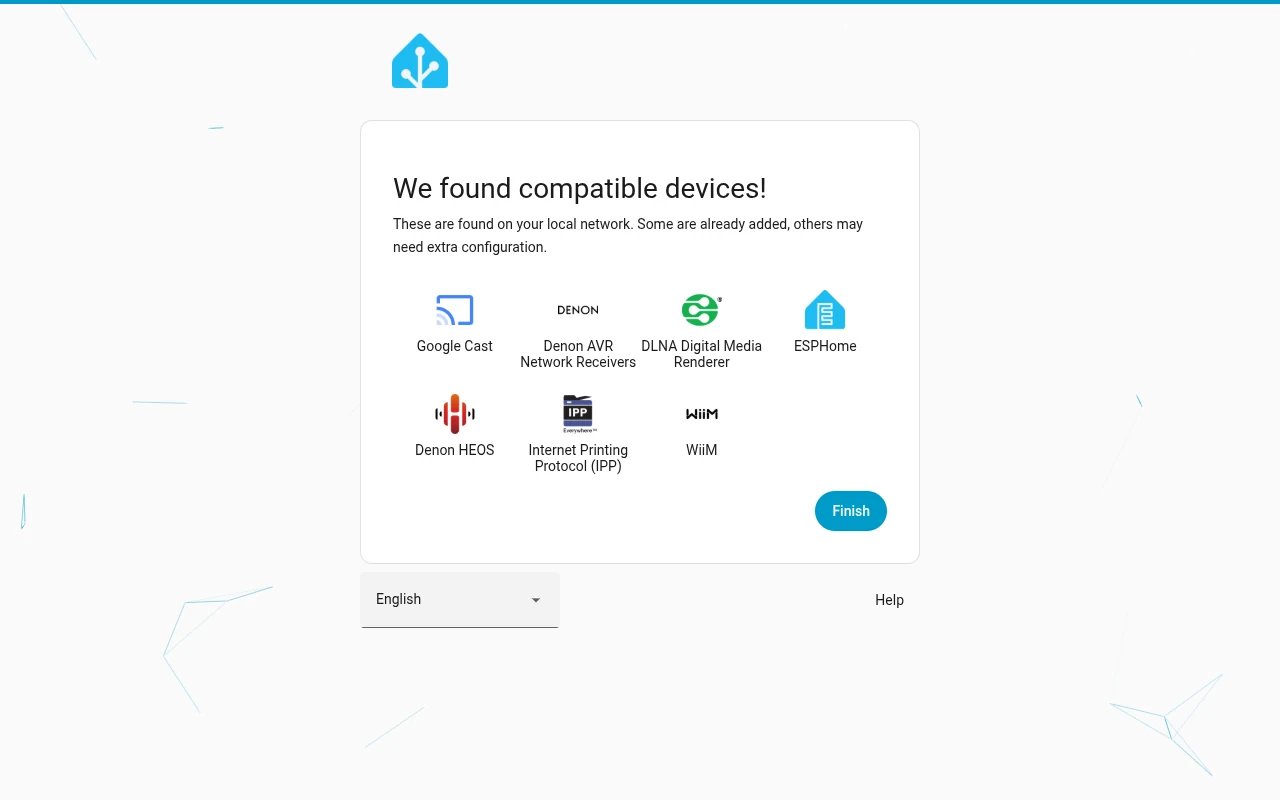
Devices found
Home Assistant shows what it found on your network: TVs, printers, speakers, and ESPHome devices, boneIO ESP controllers among them. There is nothing to do here. You add the devices found later, from the list in Settings → Devices & services.
Click Finish.
Signing in and the first dashboard
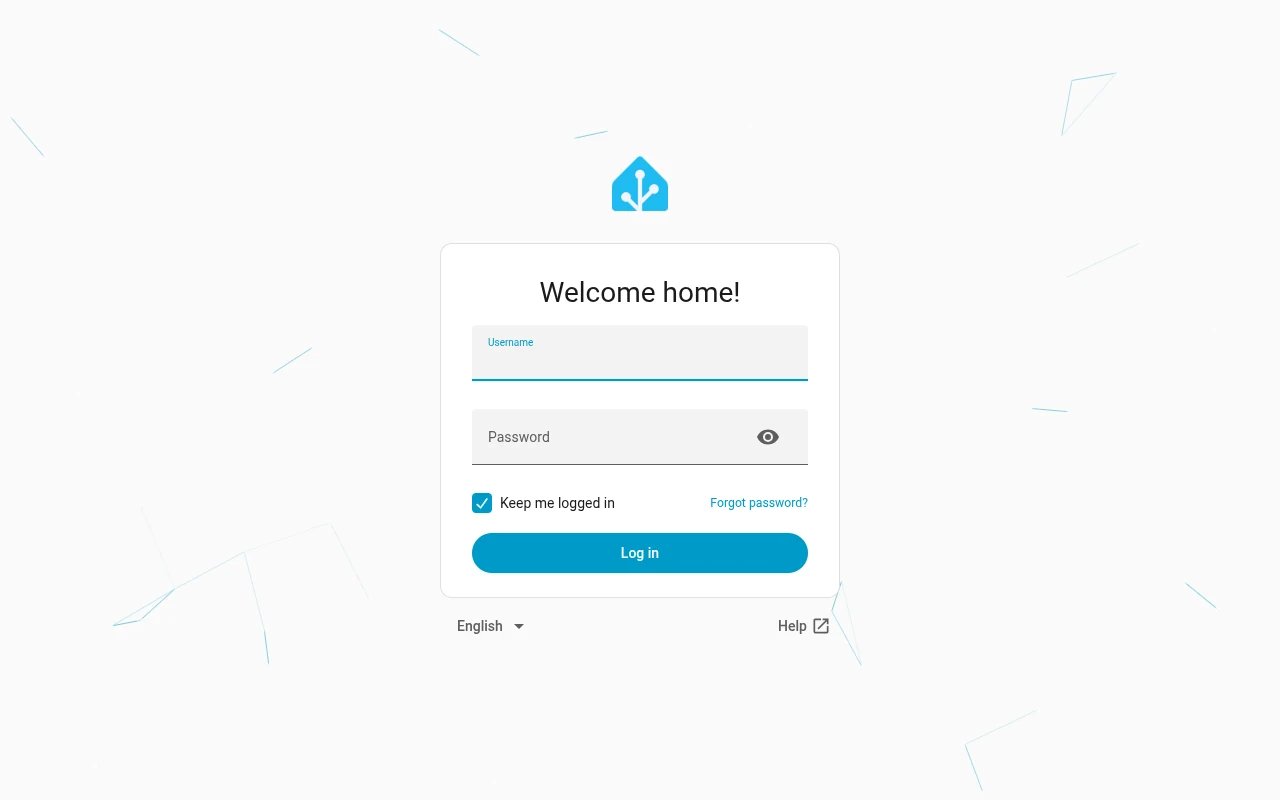
After the wizard, Home Assistant may ask you to sign in with the account you just created. Tick Keep me logged in if this is your own computer.
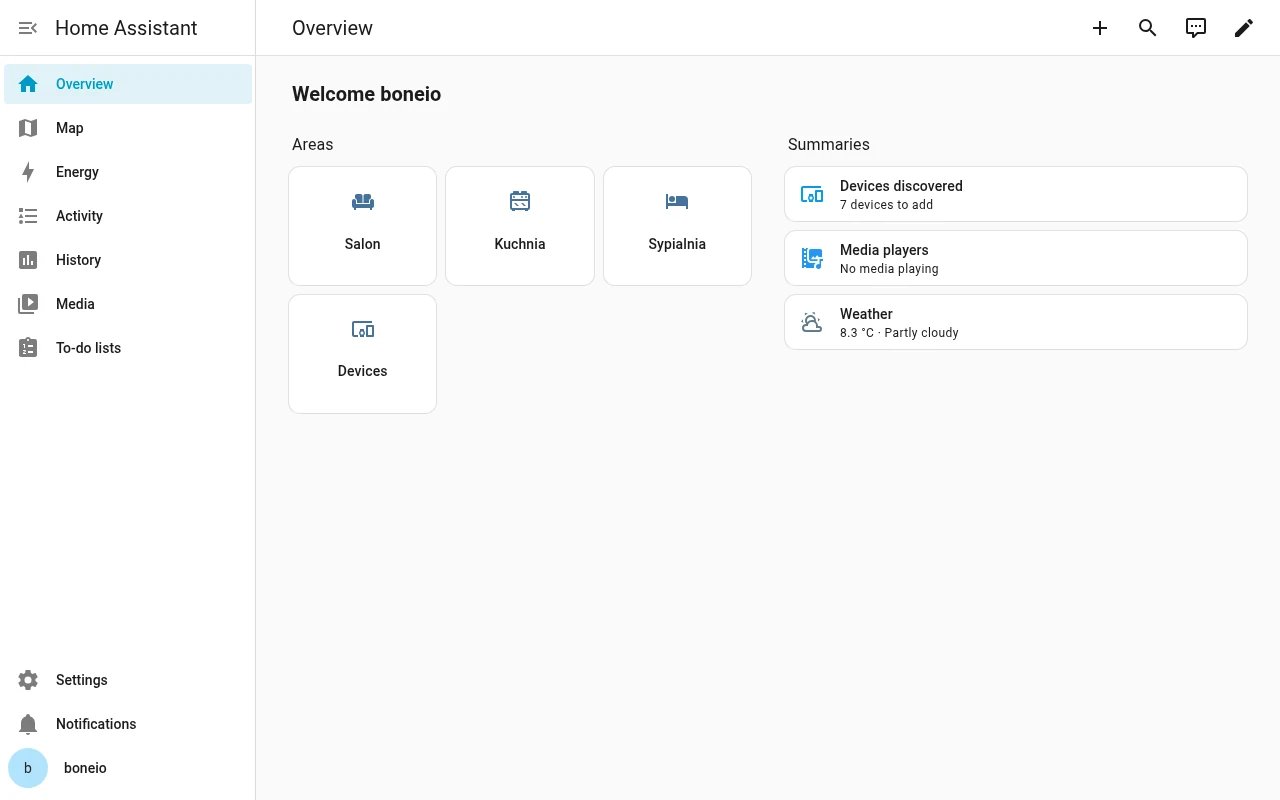
You see the Overview dashboard. At first it holds the areas the wizard created and summaries, the number of devices found among them.
What next
- Connect boneIO Black: the controller over MQTT; all its outputs, inputs and sensors appear by themselves.
- Connect boneIO ESP: the controller through ESPHome.
- Backups: set them up straight away, before you start configuring.