Case
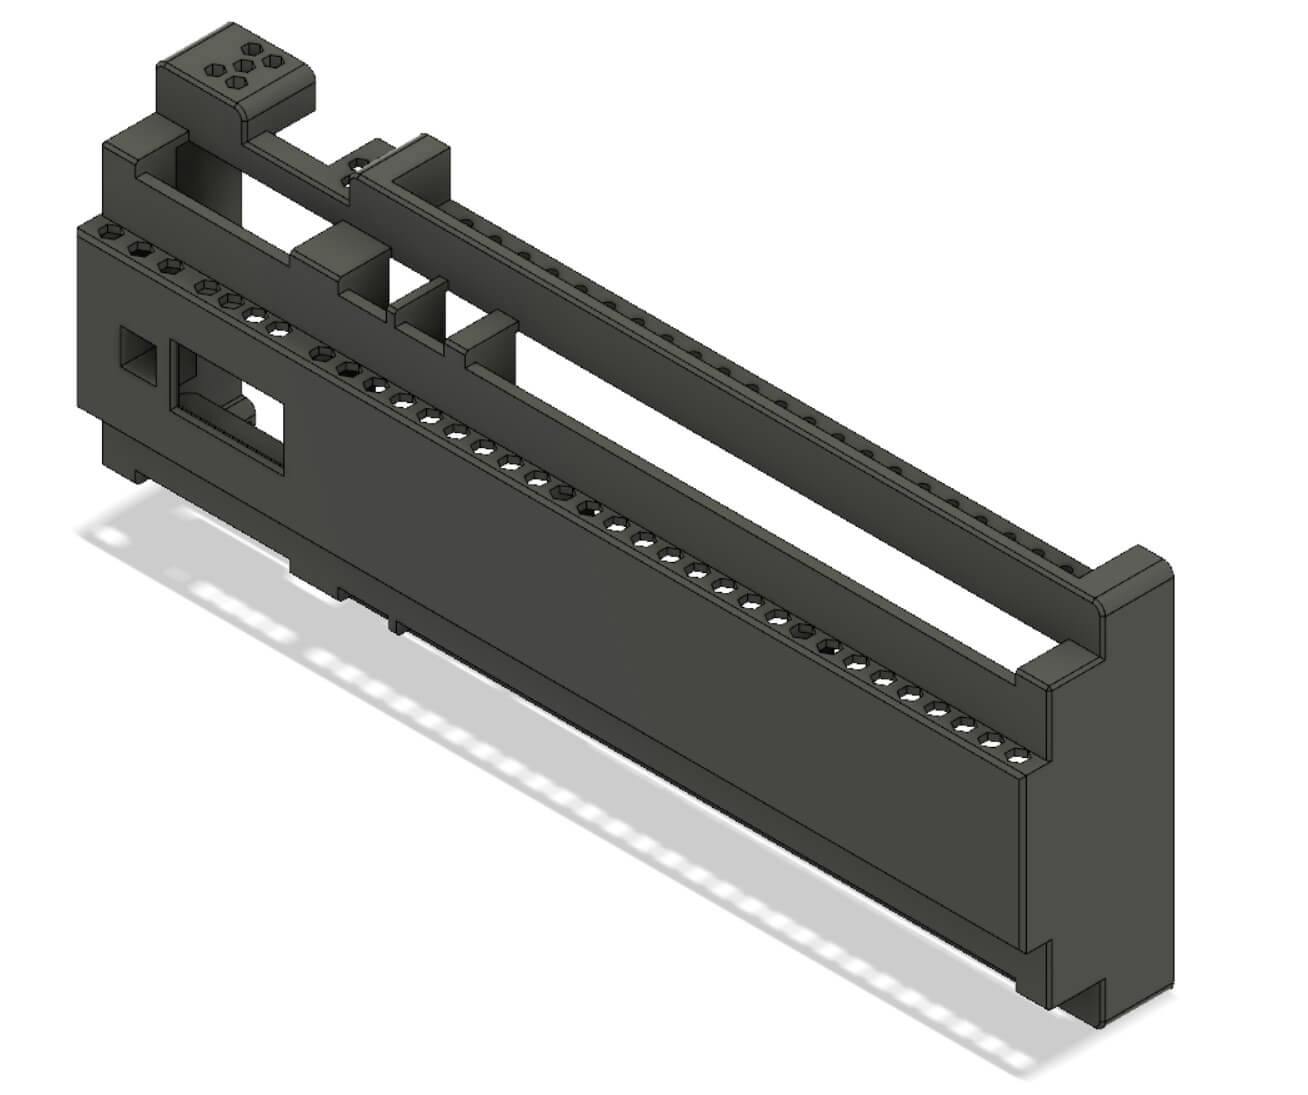
3D Model
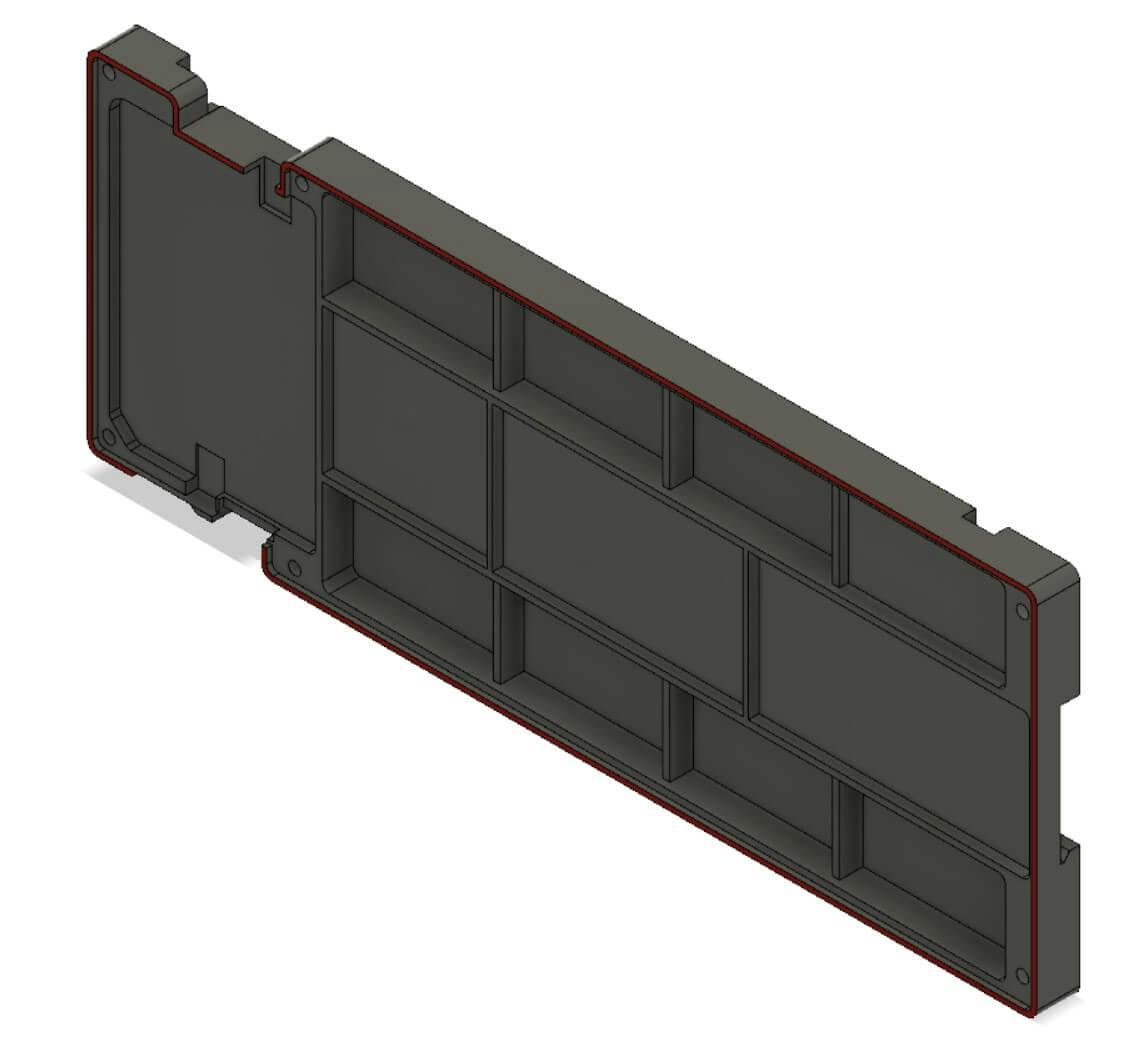
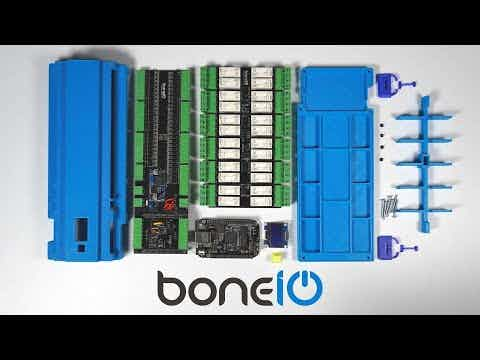
This is a 3D model of the case with electronic components assembly.
Parts List
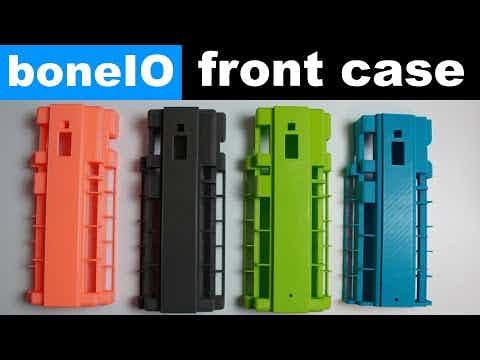
- Case-front - the biggest part of the case.
- Case-back - back case that is mounted to the DIN rail
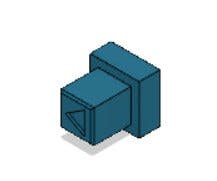
-
Button - should be printed with different color of filament - prefered blue
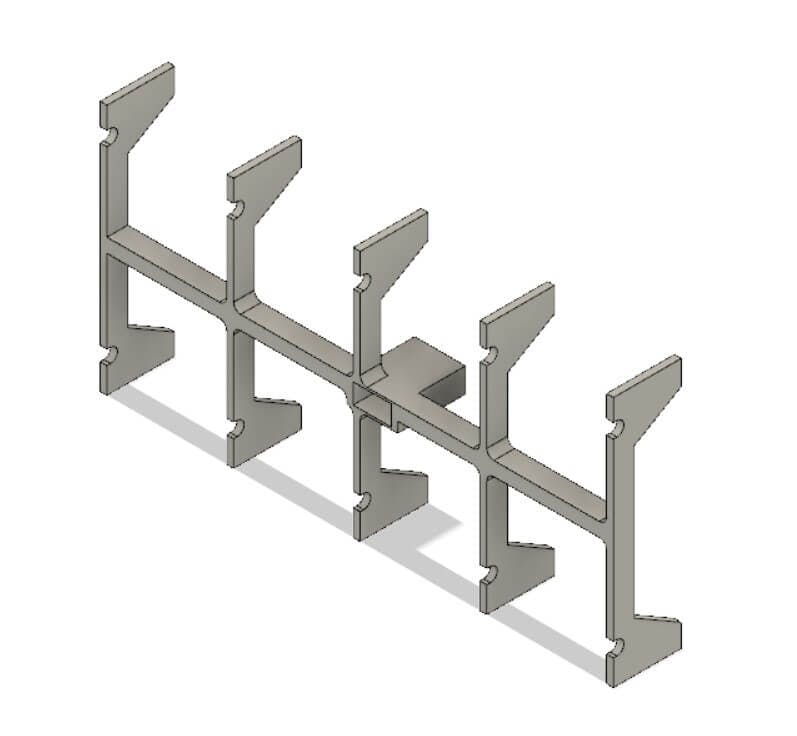
-
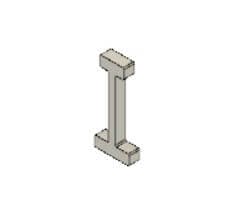
Spacer - this part keeps proper space between boards. You have to choose spacer for specific output board.
-
Clips - you need 2 of them - the tighten the mounting to the DIN rail
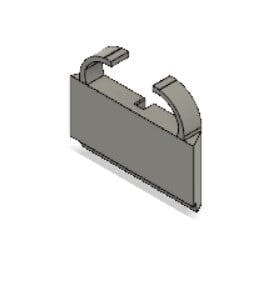
- Lock-pin - also 2 of them are needed - the keeps the clips on their place.
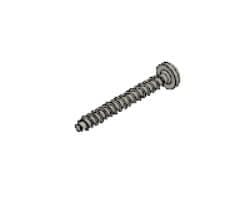
- Screws - you will need 6 TX 3x25
Printing Setup
You need a 3D printer with the bed that has at least 27cm in the longest side. For example Creality Ender 5 Plus.
Prefered material is: PET-G - it is pretty easy to print and it is more resistant to temperature than PLA.
There are two different methods of printing the front case:
- top down - then you will save some filament and time but the planse above connectors will be rought
- bottom down - then you will spend lot more filament but the quality of the top part of the case will be a lot better
Other parts of the case are not so visible so it is not so important how to print them.
Below you can find timelapse of printint the front part of the case:
Assembling boards in case
Avoid plugging boards without a case. The case has been specifically designed so as not to allow the boards to be inserted incorrectly.
Be very careful when connecting individual boards and avoid to shift the pins in the connectors - it can lead to a permanent damage to the electronic components.
Follow the instructions in this video to assemble the case with the boards.
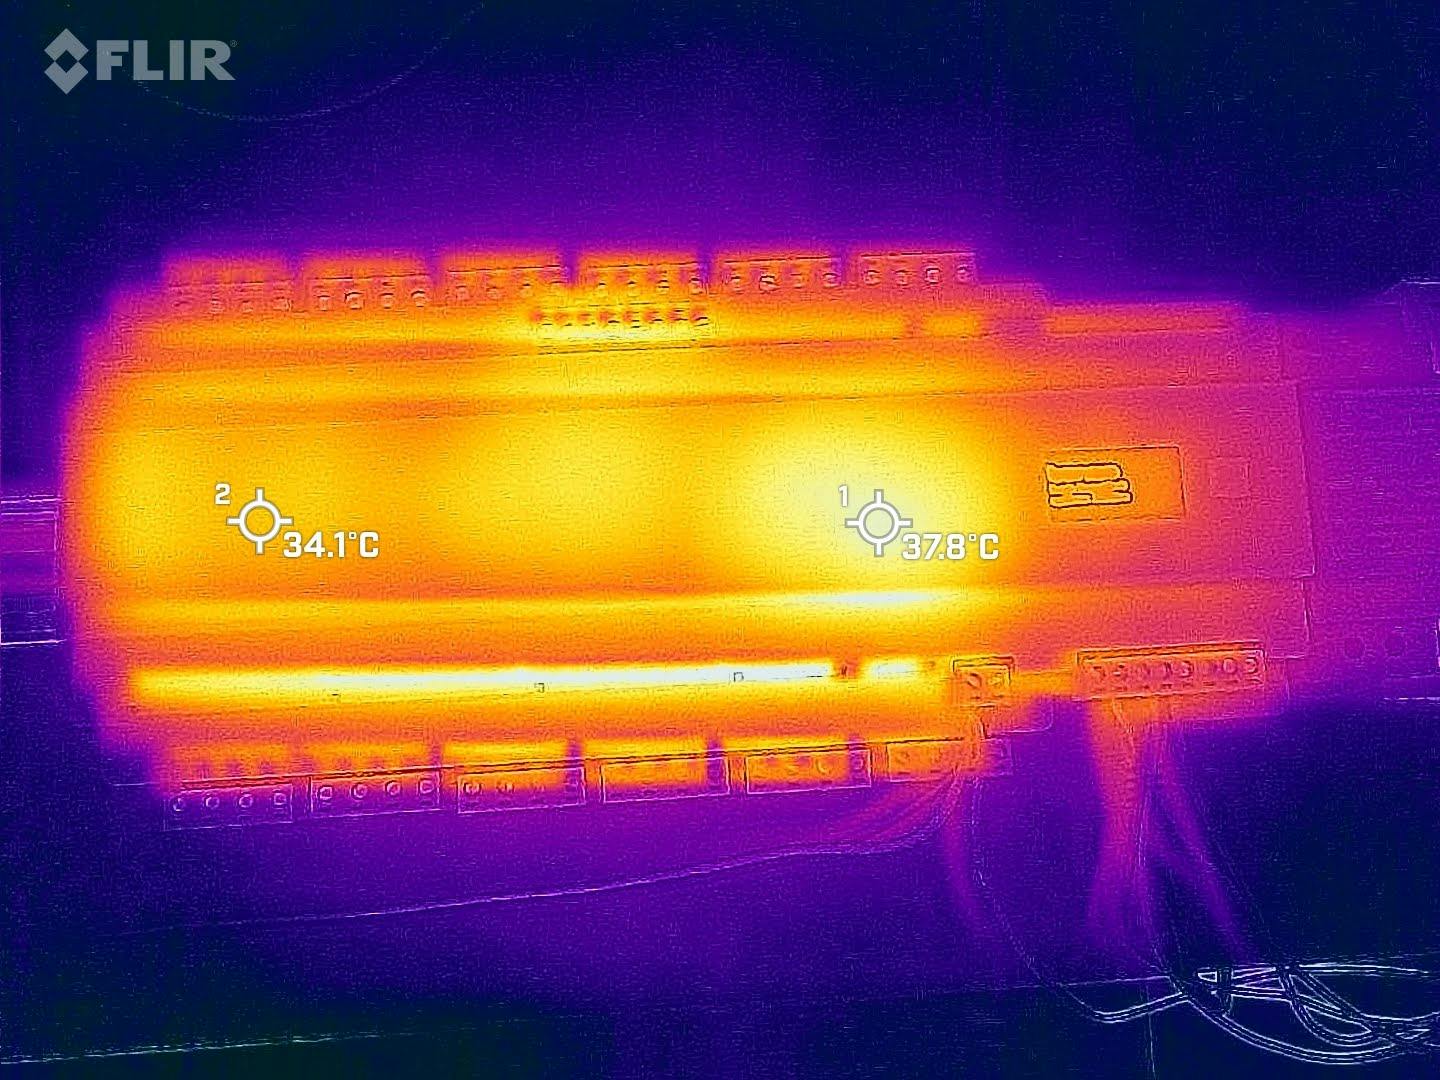
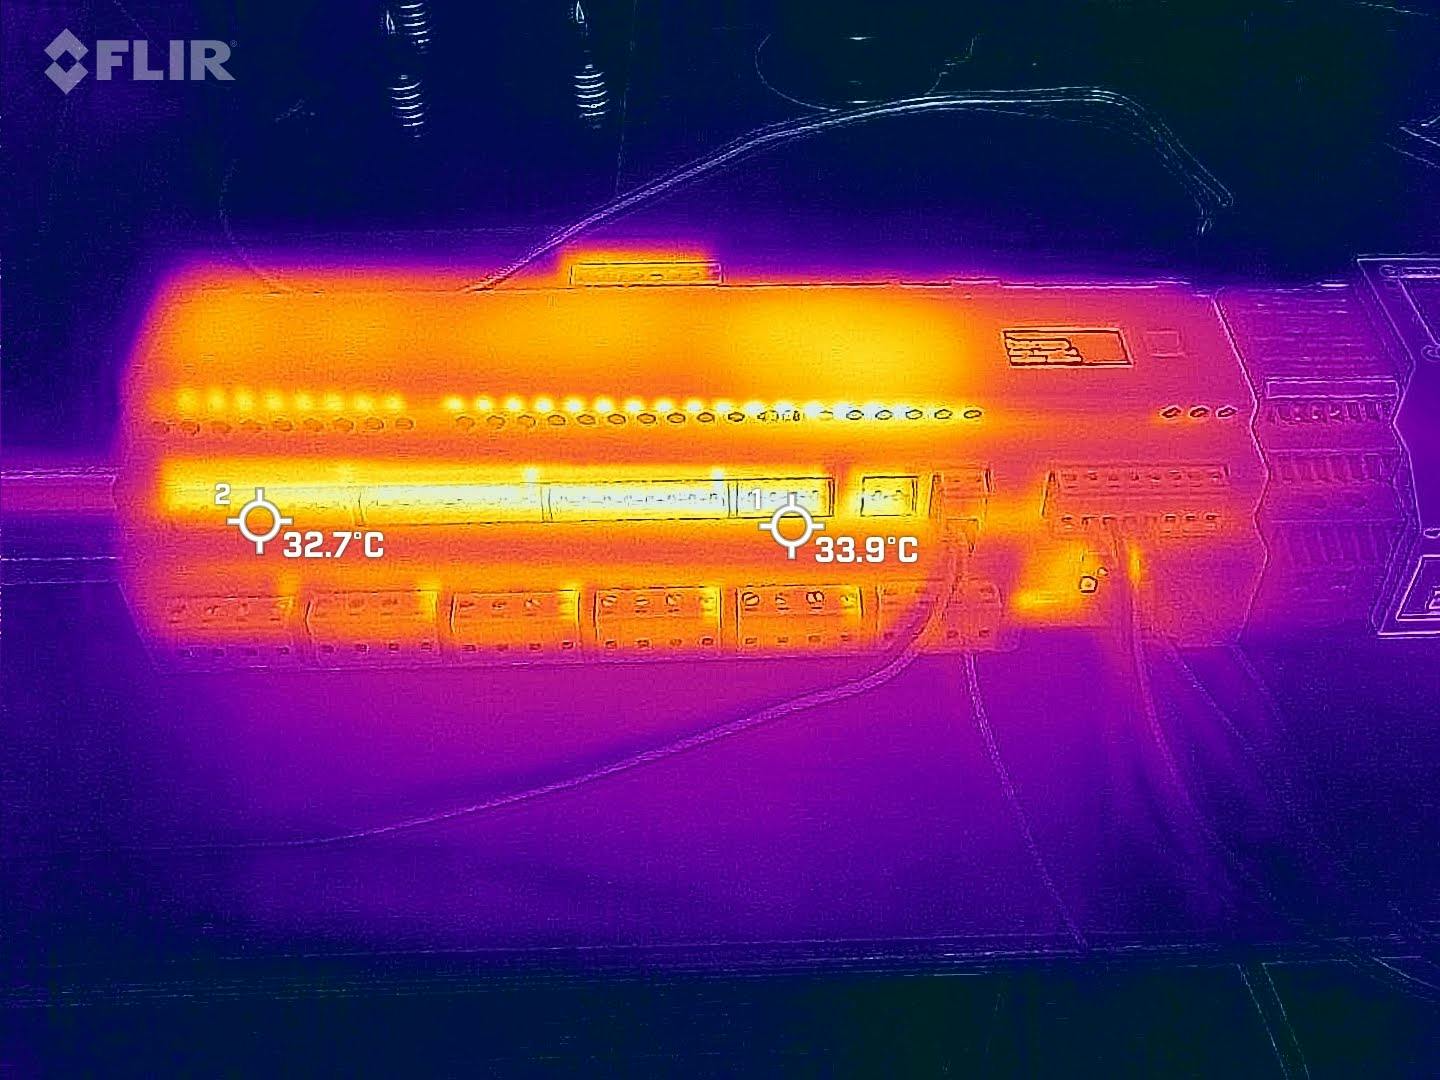
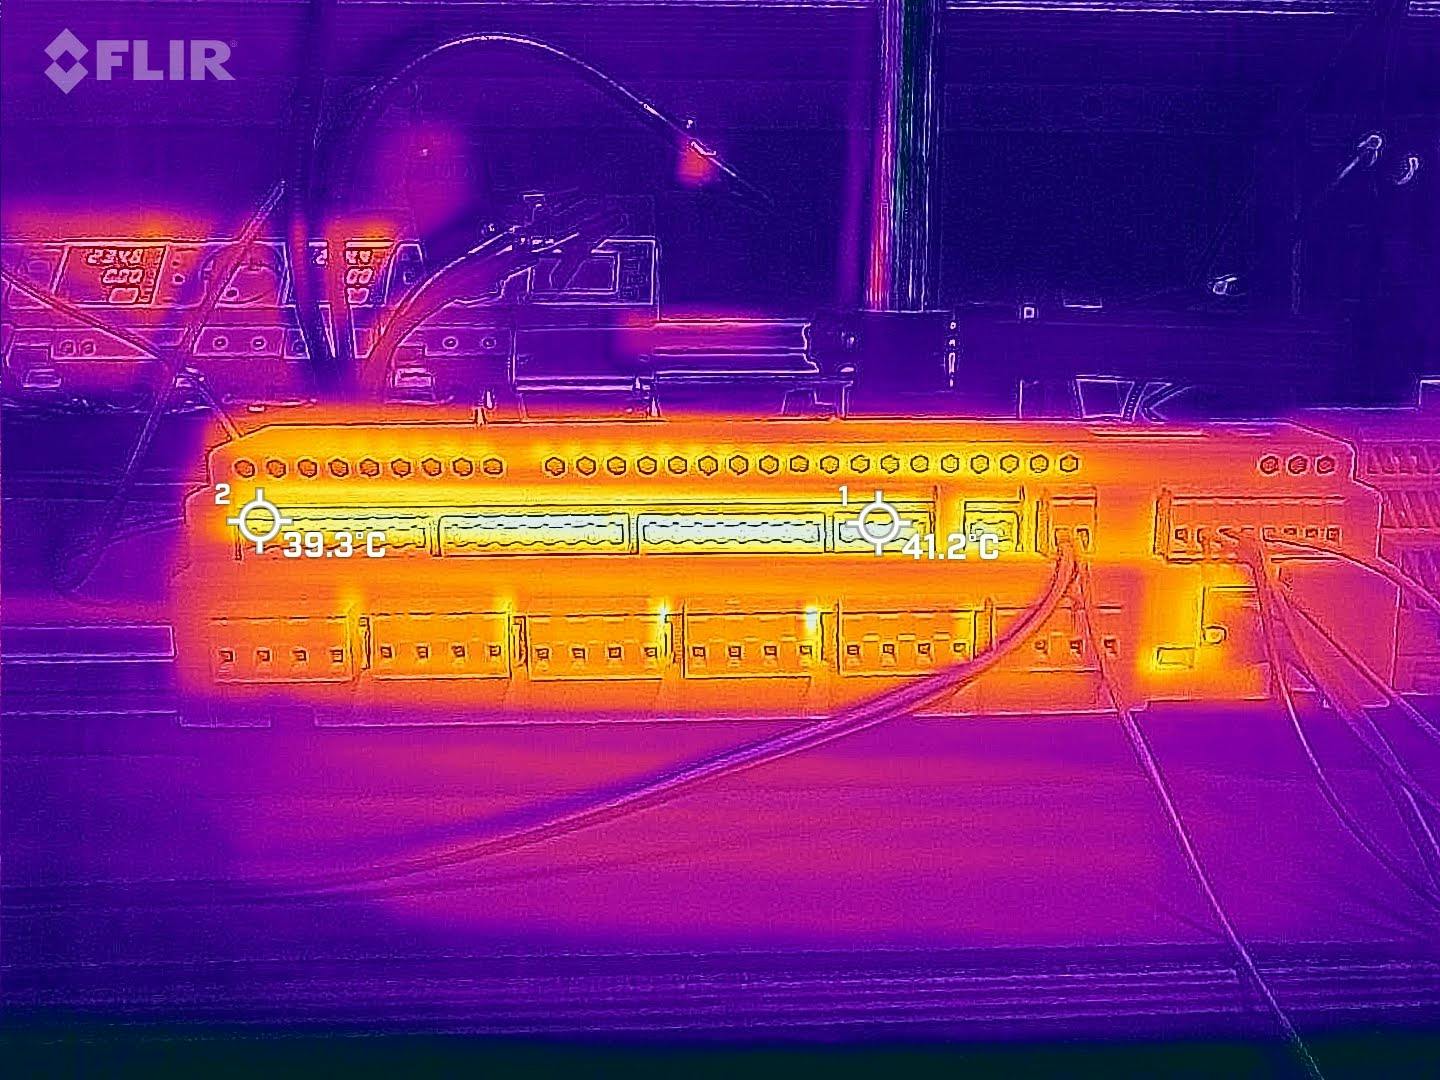
Temperature distribution
Heat dissipation test was made with Relay Board 24x16A, with all the relays turned on without any load attached. Photos were made after about 24 hours, when the temperature has stabilized.