1-Wire Sensors
How to connect and configure 1-Wire temperature sensors (DS18B20) in boneIO Black.
The boneIO Black controller supports Dallas DS18B20 temperature sensors via the 1-Wire protocol. Sensors are automatically detected by the Linux kernel.
1-Wire sensors are automatically detected - after connecting a sensor, just refresh the list in the webUI to see available addresses.
1-Wire Sensors List
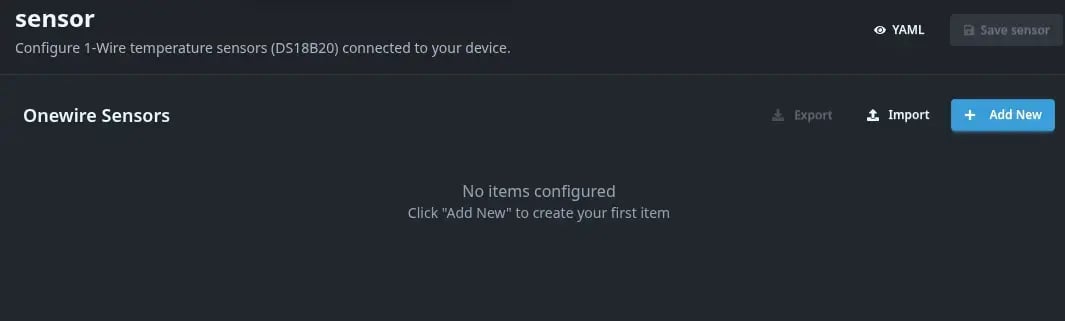
Go to Settings → Sensors to see the list of configured 1-Wire sensors.
Connecting DS18B20 Sensor
The DS18B20 sensor has 3 pins:
- VCC (red) - power supply 3.3V or 5V
- GND (black) - ground
- DATA (yellow/white) - 1-Wire data line
Connection diagram:
- Connect the sensor to the boneIO Black controller
- Connect a 4.7kΩ pull-up resistor between DATA and VCC
- The sensor will be automatically detected by the Linux kernel
Pull-up resistor is required! Without a 4.7kΩ resistor between DATA and VCC, the sensor may not work properly.
Adding a 1-Wire Sensor
- Go to Settings → Sensors
- Click Add (+ button)
- Fill in the form:
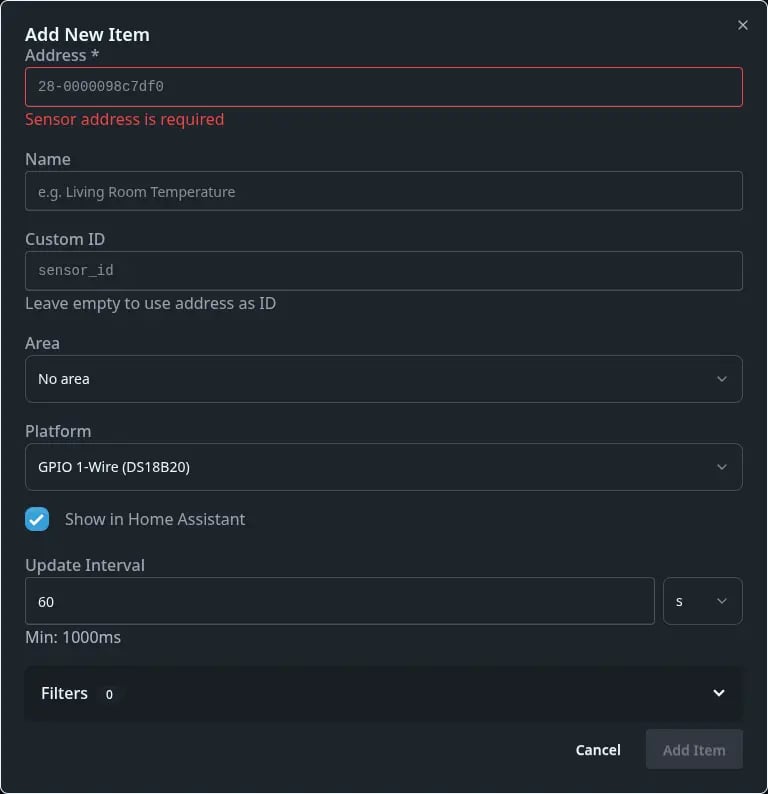
Basic Settings
| Field | Description | Required |
|---|---|---|
| Display Name | Name displayed in Home Assistant | No |
| Area | Area/room | No |
| Address | 1-Wire sensor address (e.g., 28-0000098c7df0) | ✅ Yes |
| Platform | Platform: gpio_onewire (default) or ds2482 | No |
| ID | Custom identifier (optional) | No |
| Update Interval | Temperature reading interval (default 60s) | No |
| Unit of Measurement | Unit: °C or °F (default °C) | No |
| Show in HA | Show in Home Assistant (default yes) | No |
Sensor address is automatically detected by the system. After connecting the sensor, click the refresh button next to the Address field to see available sensors.
Example Configuration
- Display Name:
Living room temperature - Area:
Living room - Address:
28-0000098c7df0(select from detected list) - Platform:
gpio_onewire - Update Interval:
30s(read every 30 seconds) - Unit of Measurement:
°C
Filters for Sensors
You can add filters to process temperature readings:
| Filter | Description |
|---|---|
| round | Round to N decimal places (default 2) |
| offset | Add a constant value (sensor calibration) |
| multiply | Multiply by value |
| filter_out | Filter out a specific value |
| filter_out_greater | Filter out values greater than N |
| filter_out_lower | Filter out values less than N |
Example filter usage:
If the sensor shows temperature 0.5°C too low:
- Add offset filter with value
0.5
Sensor Not Detected?
If you don't see the sensor in the available addresses list after connecting:
- Check connections - make sure the sensor is properly connected
- Check pull-up resistor - is there a 4.7kΩ resistor between DATA and VCC
- Reboot the device - go to Settings → System → Reboot Device
Never reboot the device by unplugging! Always use the System → Reboot Device function in the webUI. Sudden power loss can damage the file system.
R4DCB08 Module - Hub for Multiple Sensors
If you want to connect multiple 1-Wire sensors in a star topology, you can use the R4DCB08 module via Modbus. See the Modbus Devices section to learn more.
Verification in Home Assistant
After adding a 1-Wire sensor:
- The sensor will automatically appear in Home Assistant via MQTT Discovery
- Go to Settings → Devices & Services → MQTT
- Find the boneIO Black device - temperature sensors will be visible as entities
Data from sensors is automatically published to MQTT and available in Home Assistant for creating automations, historical charts, and dashboards.