Adopt with Esphome Addon
This step is not necessary, but recommended. If you want to change names of the outputs, inputs, connect extra sensors etc.
Note: For this to work your home network must support mDNS. If Home Assistant and boneIO is in same subnet (same VLAN) in most cases it’d work. boneIO has to be connected to your network and working.
-
Go to Esphome addon in the left menu or go to System -> Add-ons -> Esphome -> Open Web UI
-
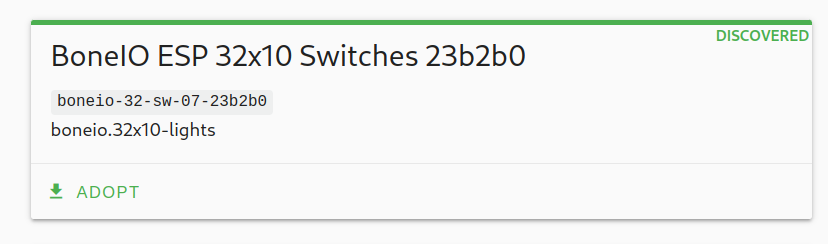
Find your new boneIO device in the dashboard.
-
Click Adopt
-
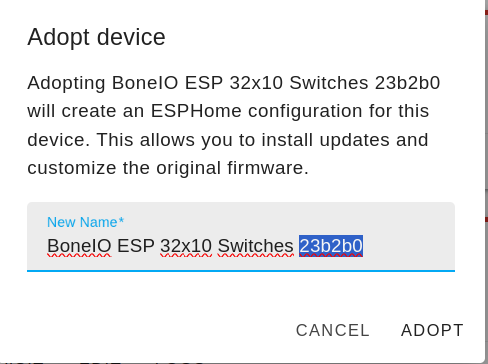
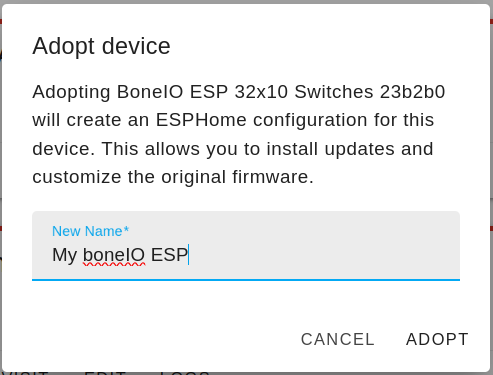
Choose name for our new device
-
Click Adopt
-
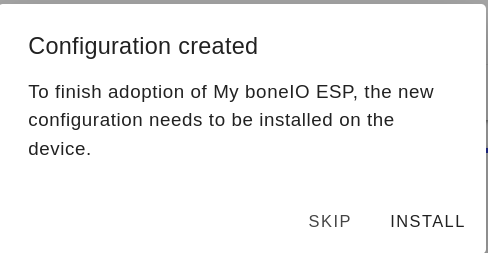
Now it will prompt for install new software
-
After install there will be logs visible, you can click stop now
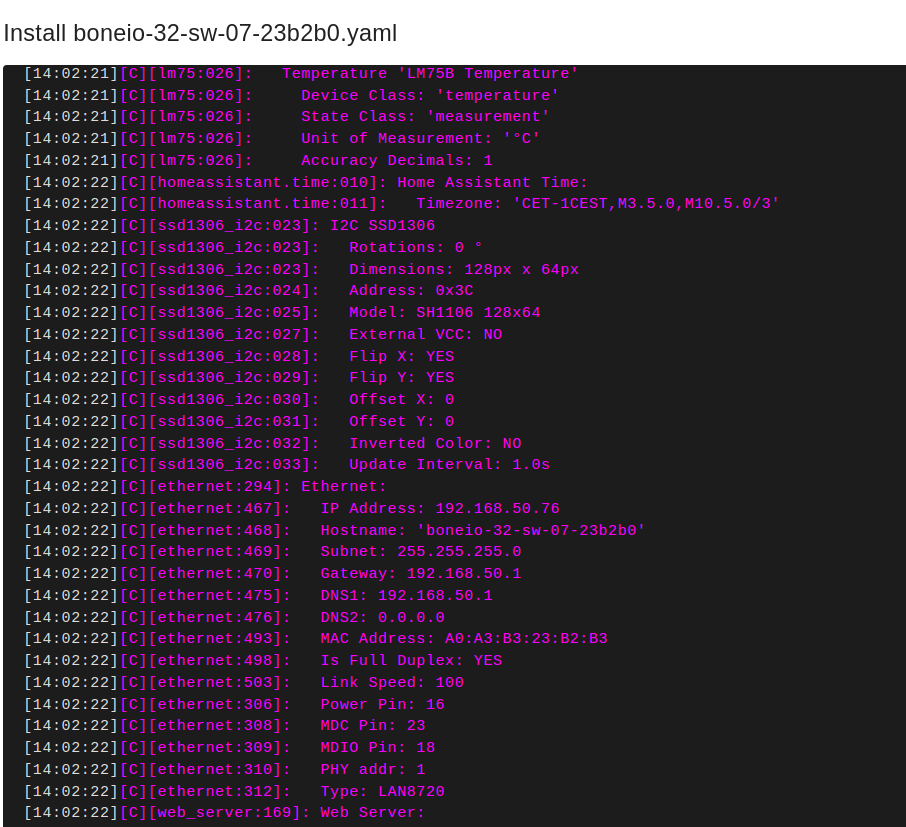
It’s ready, you can edit your config by clicking Edit on your boneIO device.
Connect with Home Assistant
Note: For this to work your home network must support mDNS. If Home Assistant and boneIO is in same subnet (same VLAN) in most cases it’d work. boneIO has to connected to your network and working.
To connect boneIO ESP with Home Assistant do following:
-
Go to Settings -> Devices & services
-
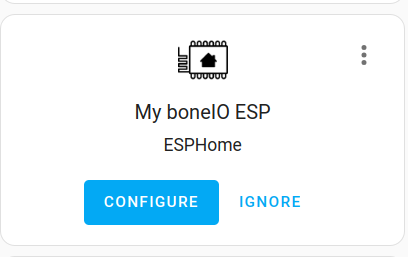
You should see boneIO ESP discovered
-
Click Configure and wait
-
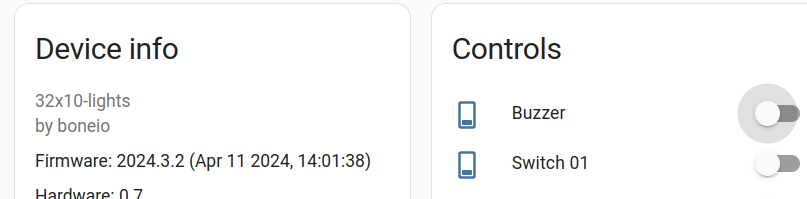
It’s ready! You can go to Configured section and under Esphome find new boneIO device
Predefined Modbus devices
Coming soon!